ISOSCELES
VJ Loop Artist
Showreels
VJ Loops
Archive
*VJ Loops
Welcome to my laboratory. I frequently experiment with 3D animation, machine learning, and compositing. I'm also one of the developers of NestDrop. Every month I release a new VJ pack on
Patreon
.
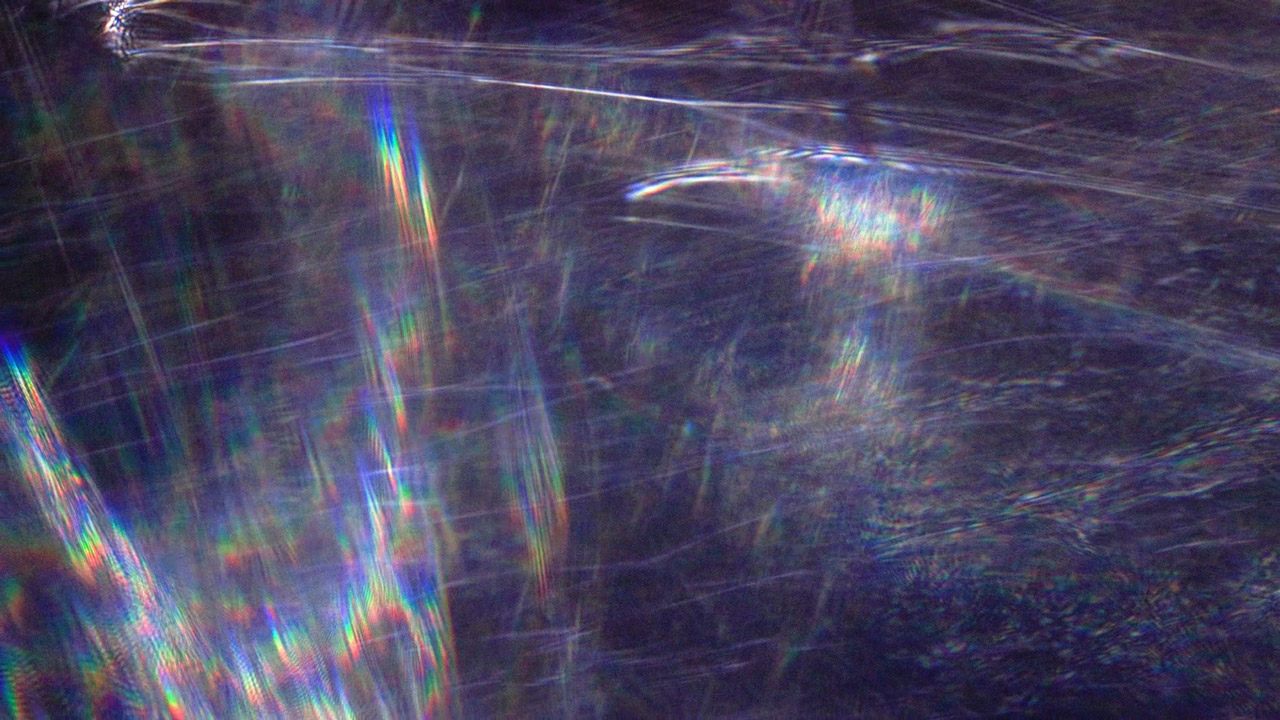
PACK ⬕ Nostalgia Voltage
PACK ⬕ Mask Chaos
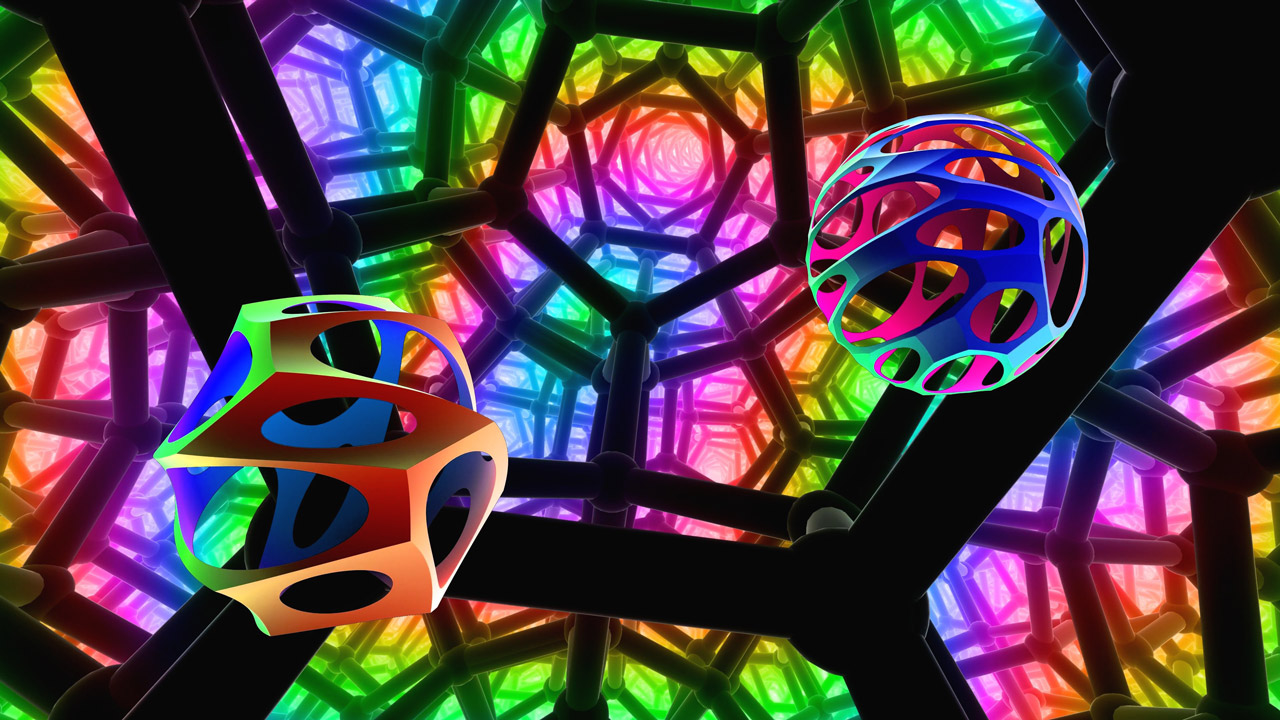
PACK ⬕ Quantum Fields
PACK ⬕ Gradient Breeze
PACK ⬕ Cloud Control
PACK ⬕ Geometry Realm
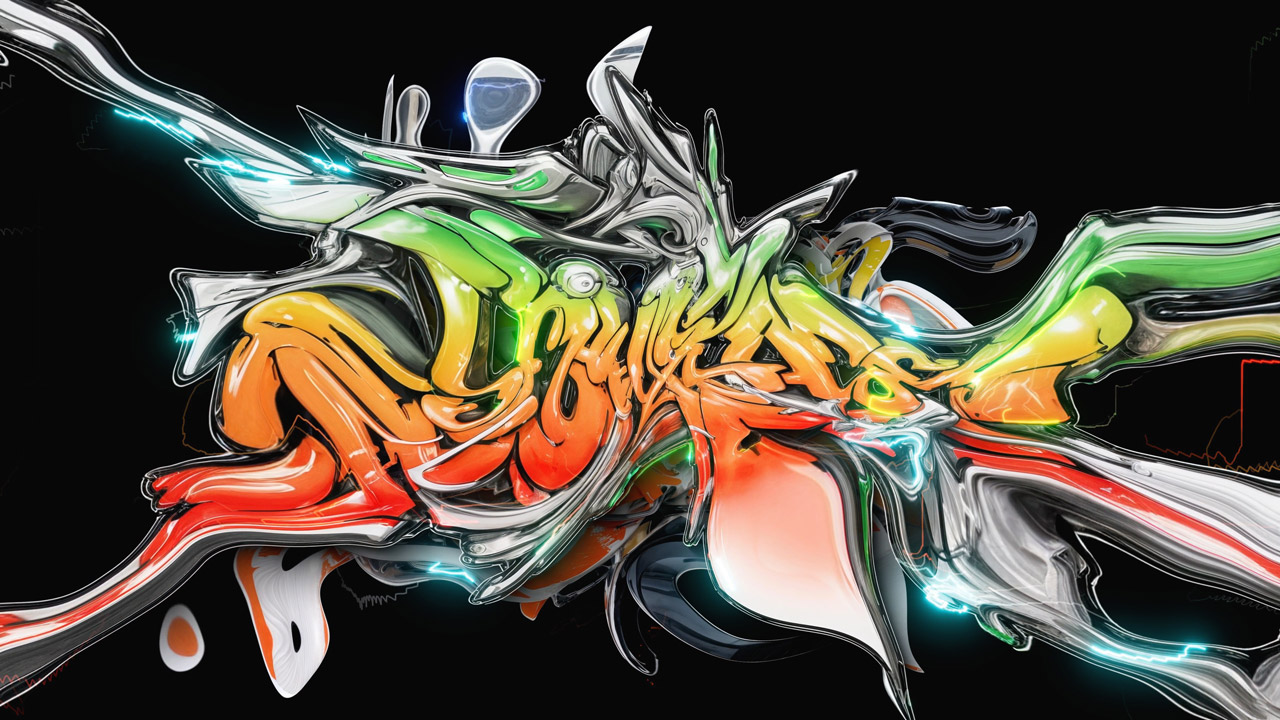
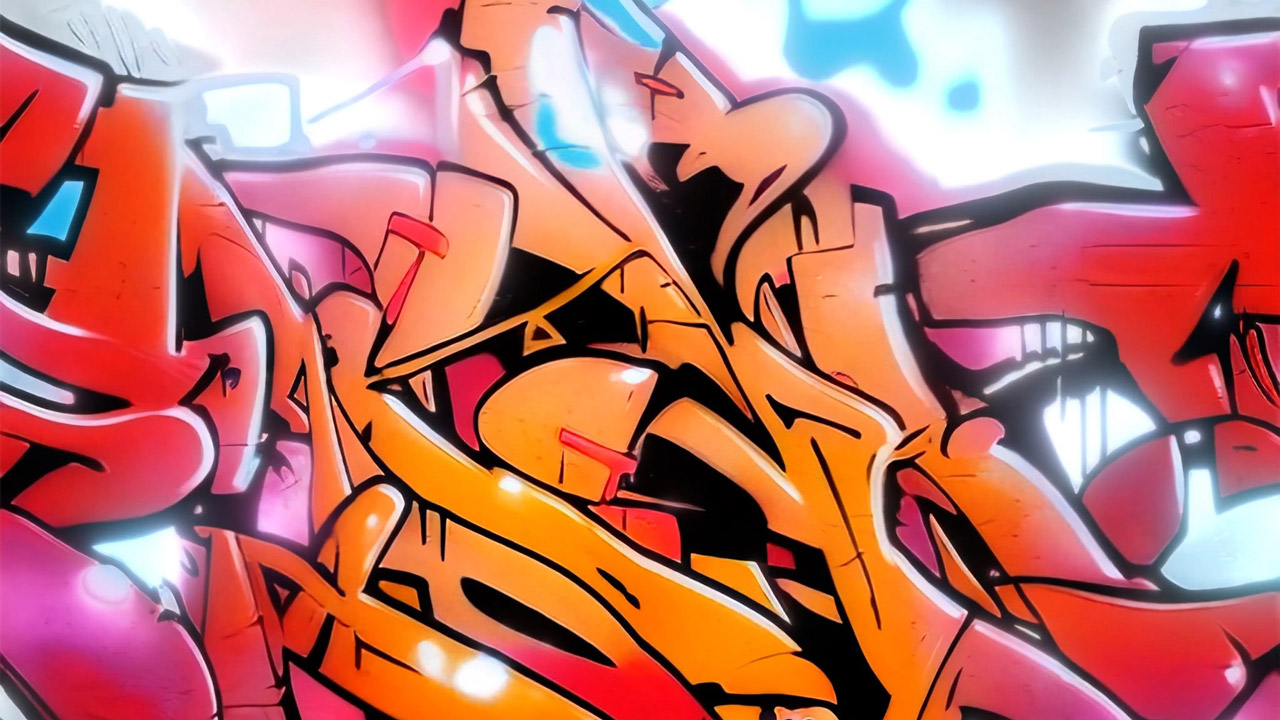
PACK ⬕ Graffiti Spill
PACK ⬕ Reef Beyond
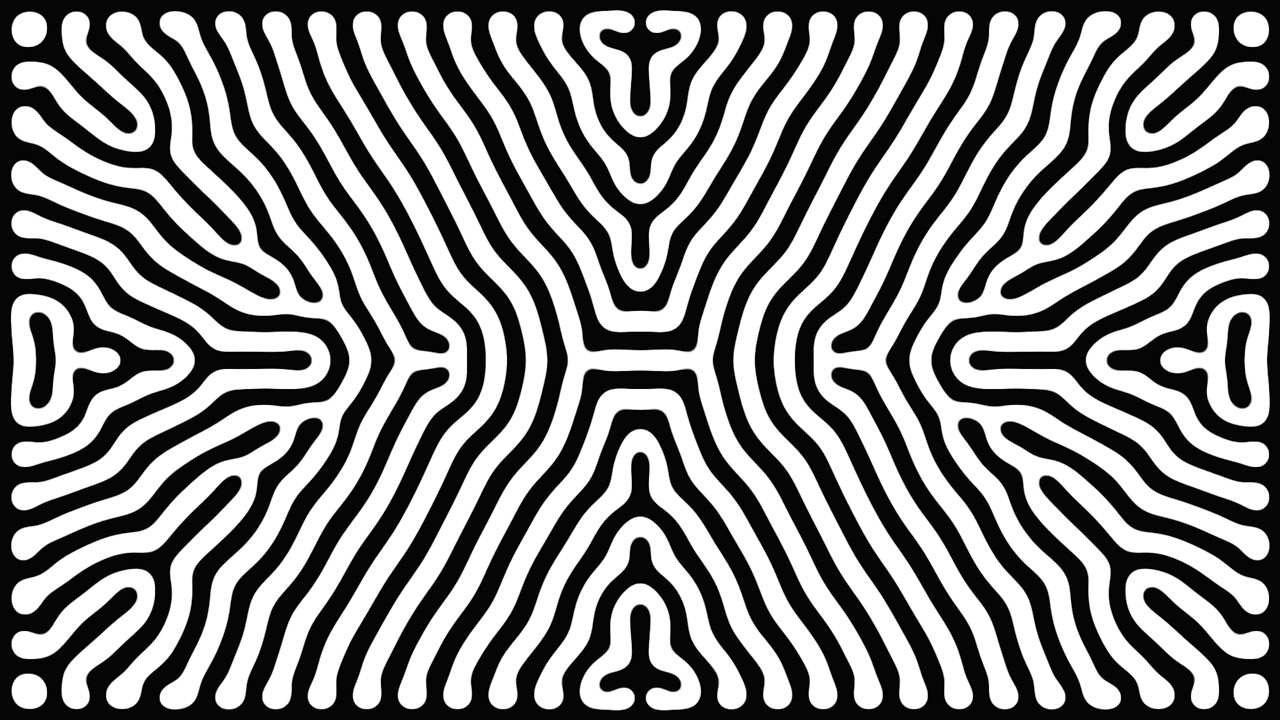
PACK ⬕ Mask Reaction Diff
PACK ⬕ Photon Veil
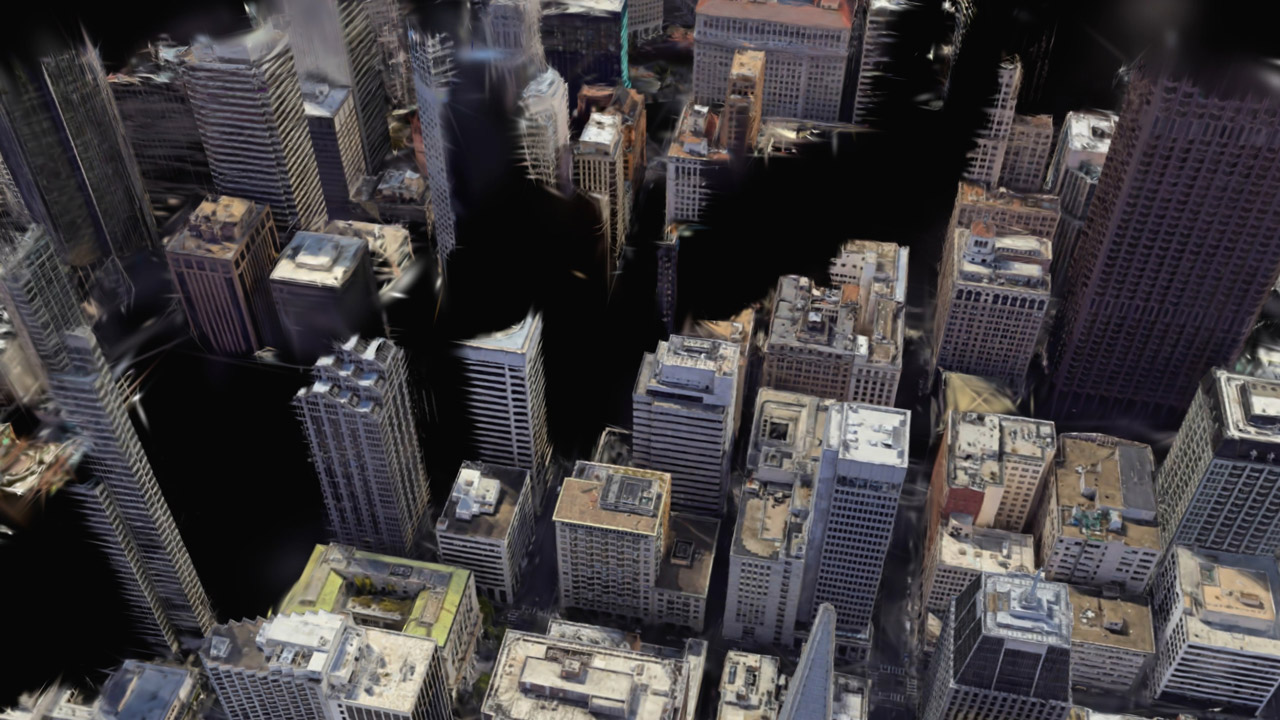
PACK ⬕ Concrete Jungle
PACK ⬕ Corrupted Echo
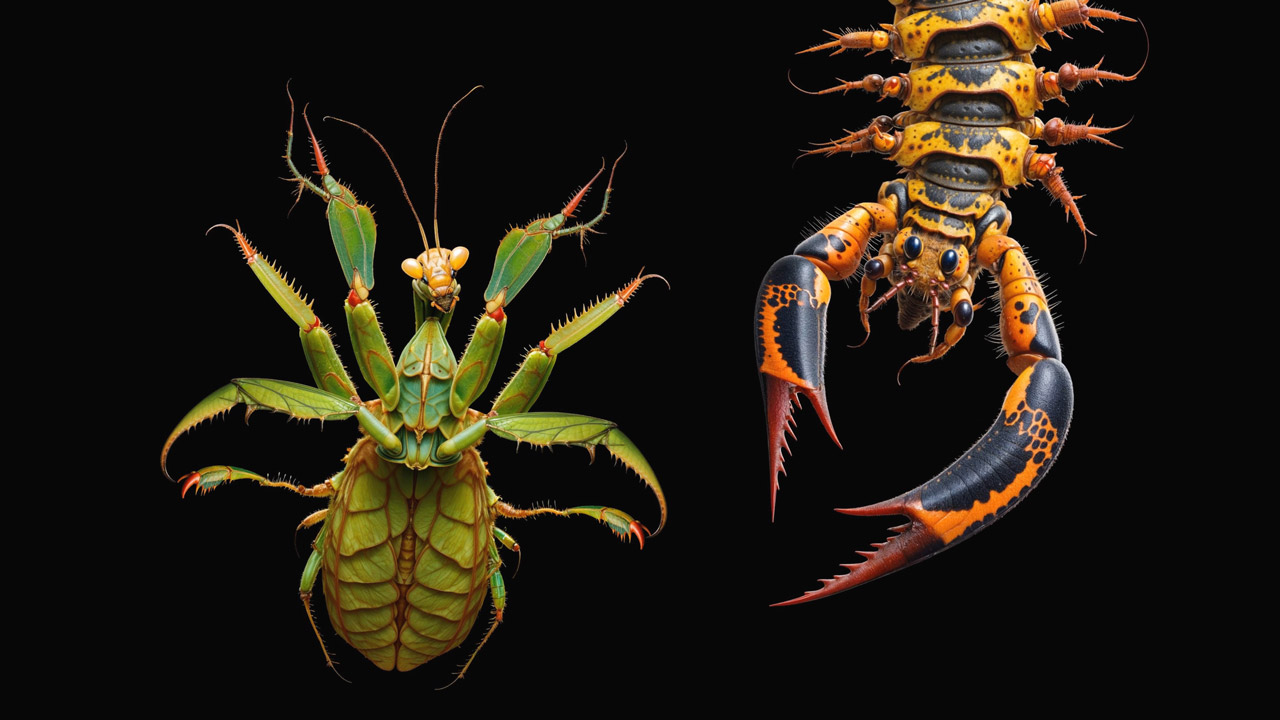
PACK ⬕ Insectoid Protocol
PACK ⬕ Feedback Fractals
PACK ⬕ Tracking Corp
PACK ⬕ Dev Ex Machina
PACK ⬕ Tracer Freq
PACK ⬕ Blue Screen OD
PACK ⬕ Mask Fract
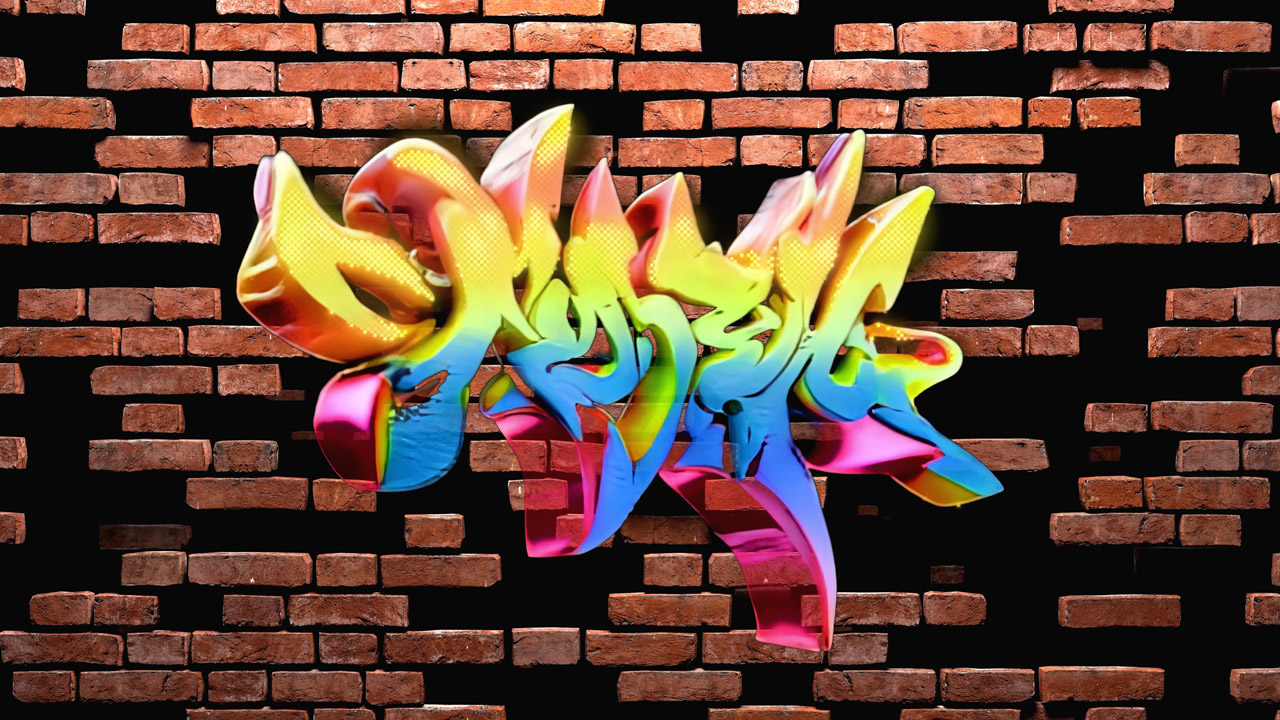
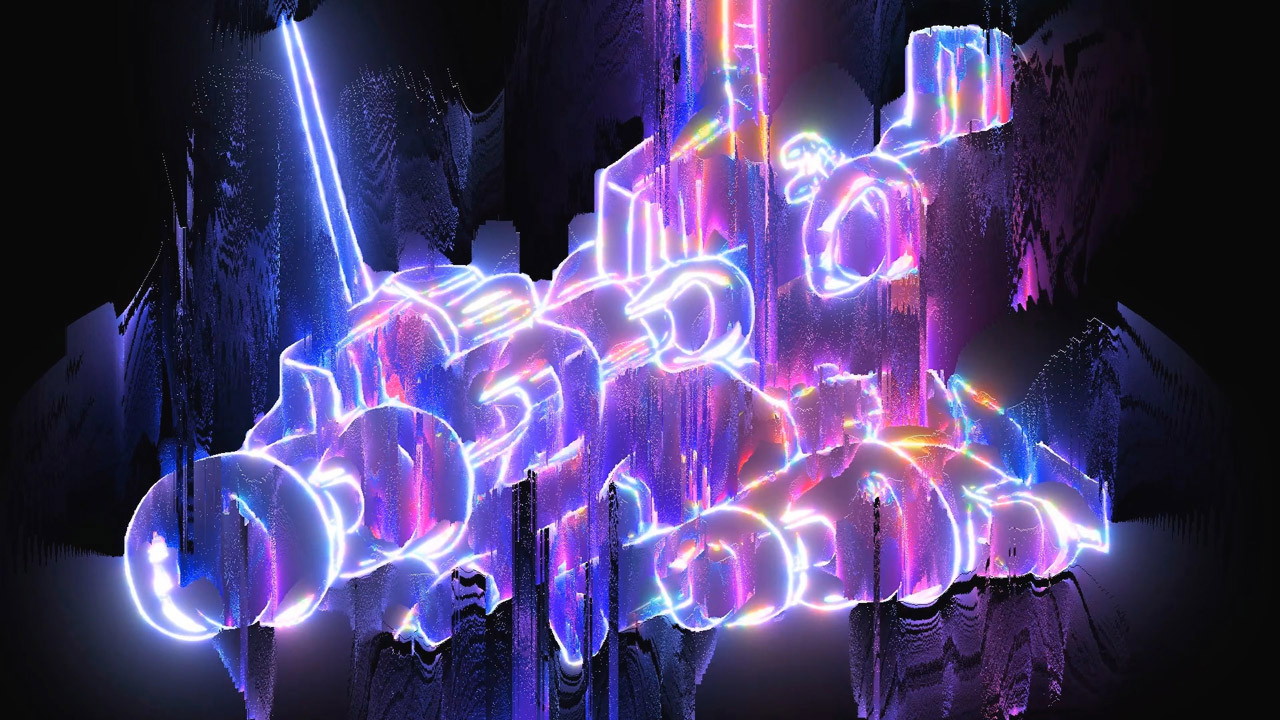
PACK ⬕ Wildstyle Graf
PACK ⬕ Astral Mist
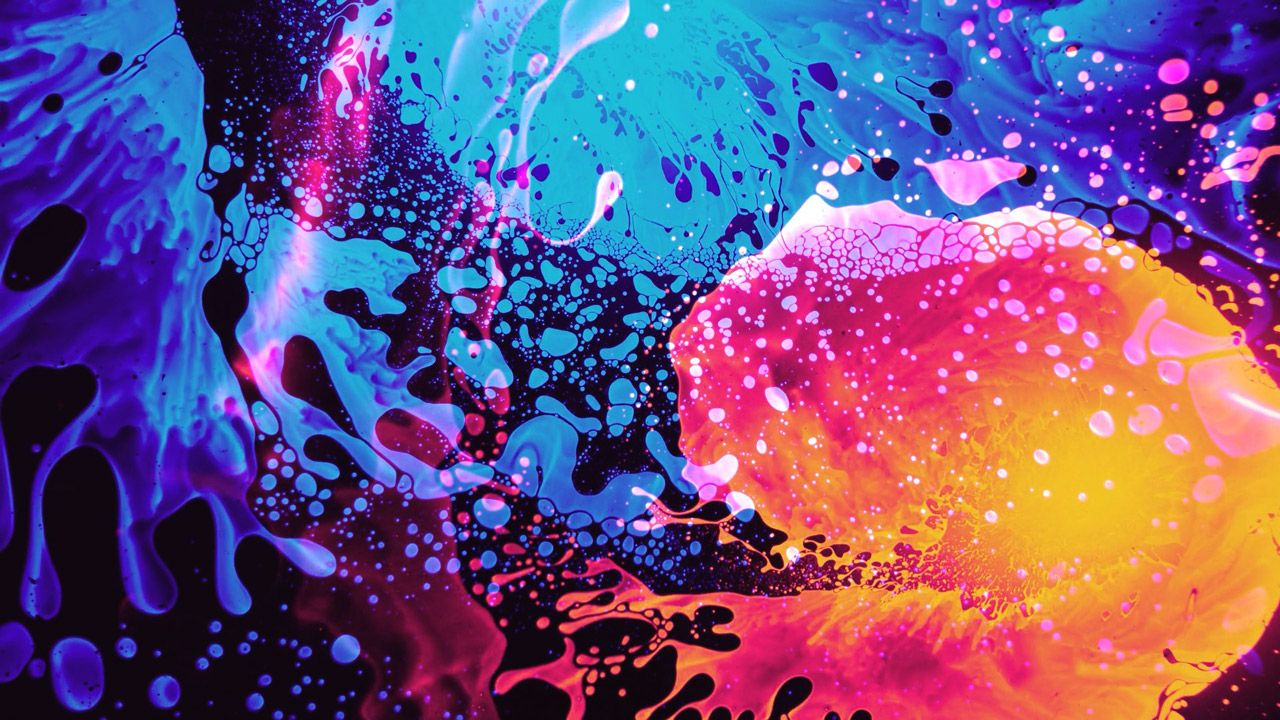
PACK ⬕ Liquid Lights
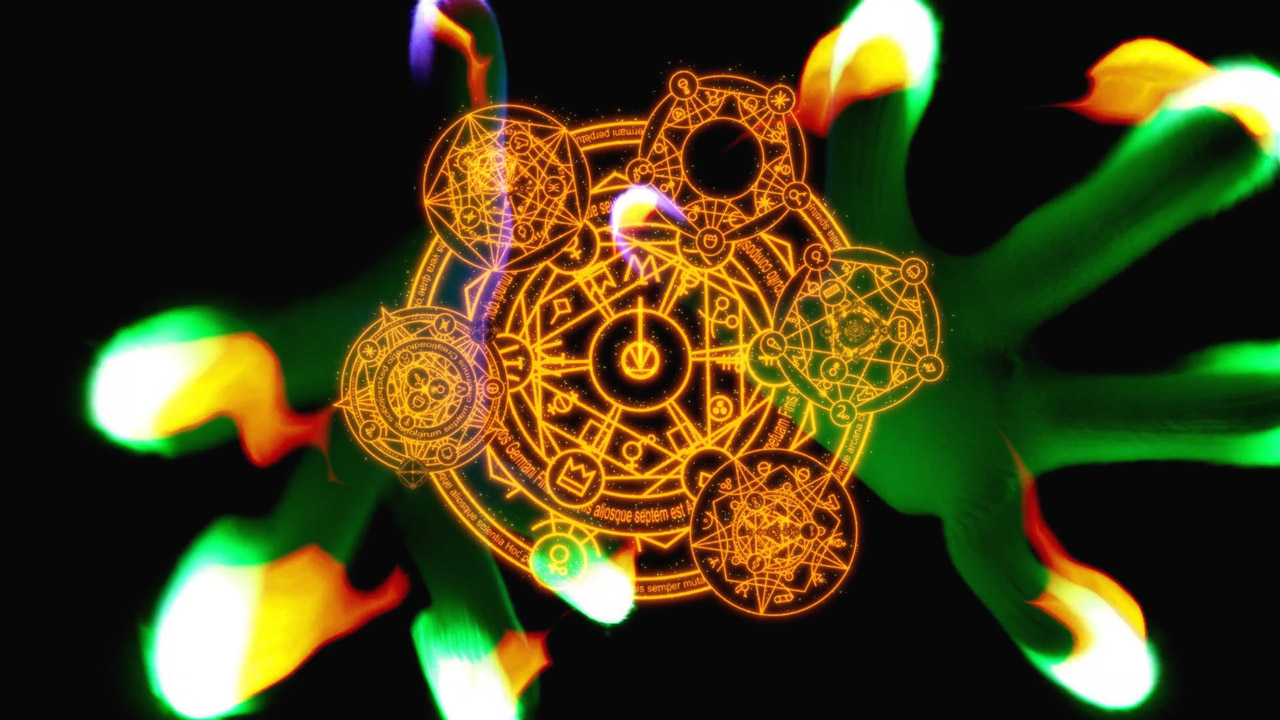
PACK ⬕ Magic Skool
PACK ⬕ Sandpile Auto
PACK ⬕ Time Boolean
PACK ⬕ Mocap Bones
PACK ⬕ Sub Drop
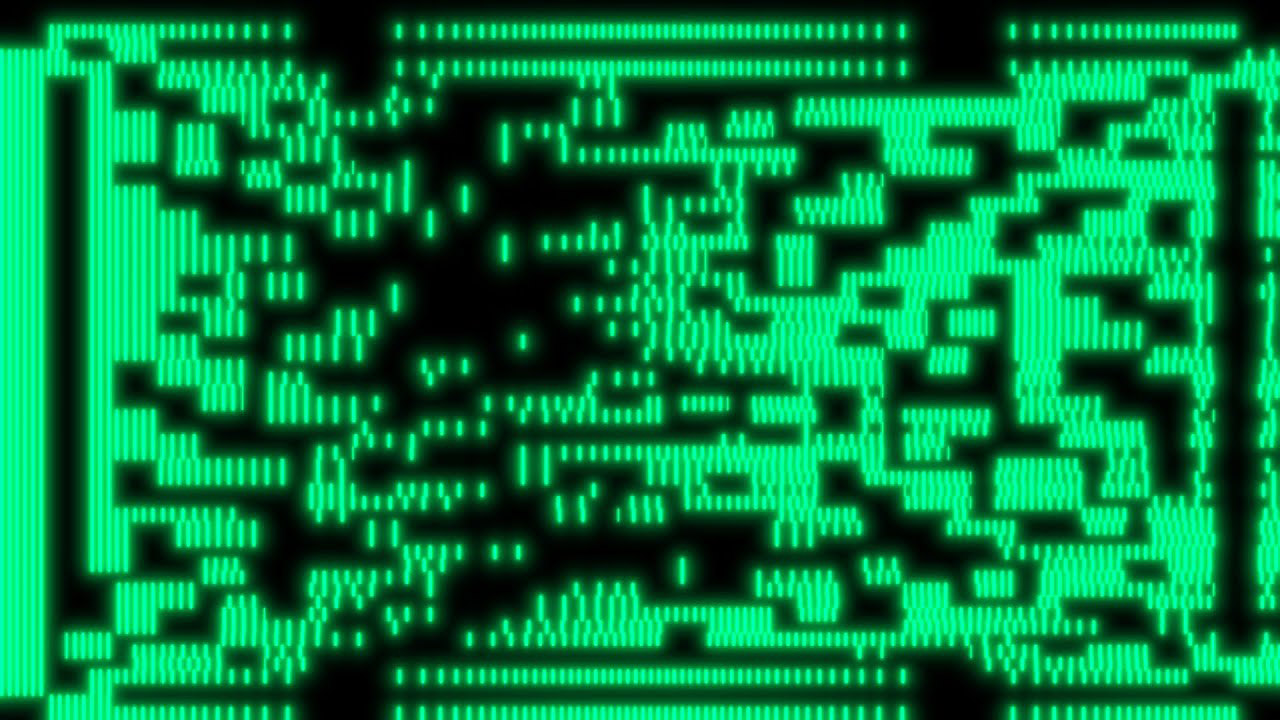
PACK ⬕ ASCII Forge
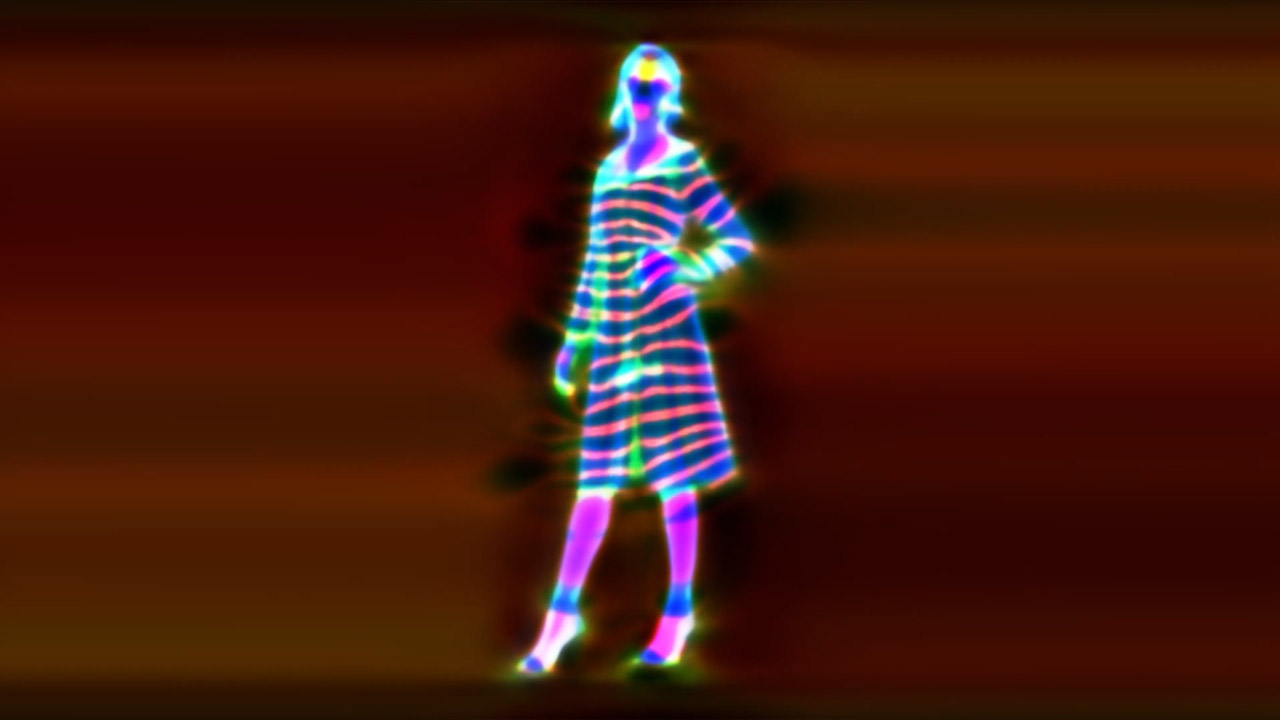
PACK ⬕ Fashion Pose
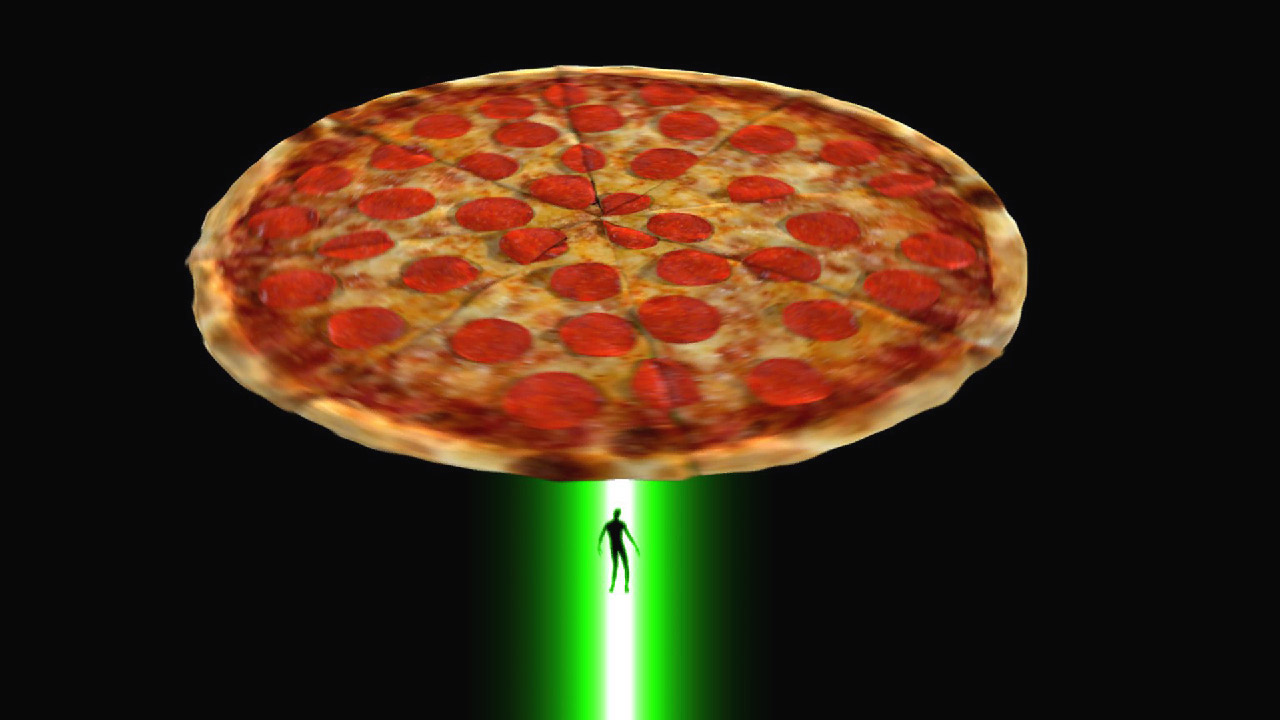
PACK ⬕ Pizza Party
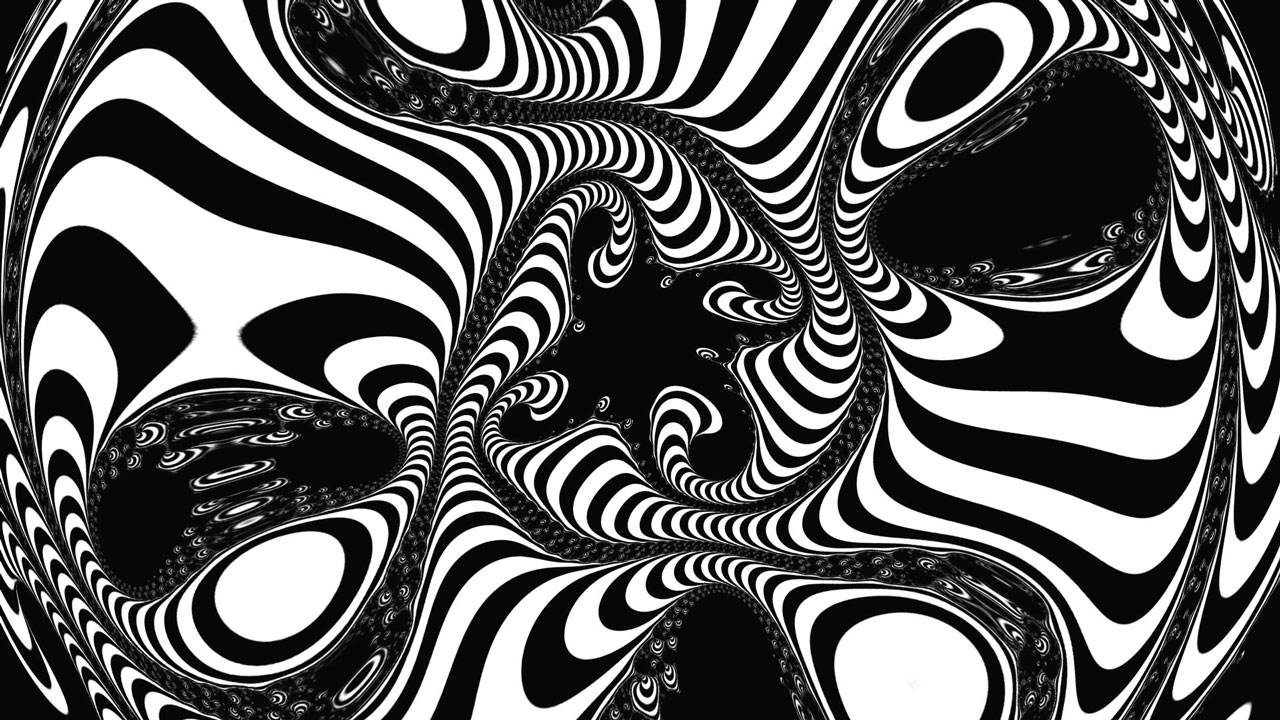
PACK ⬕ Mask Hypno
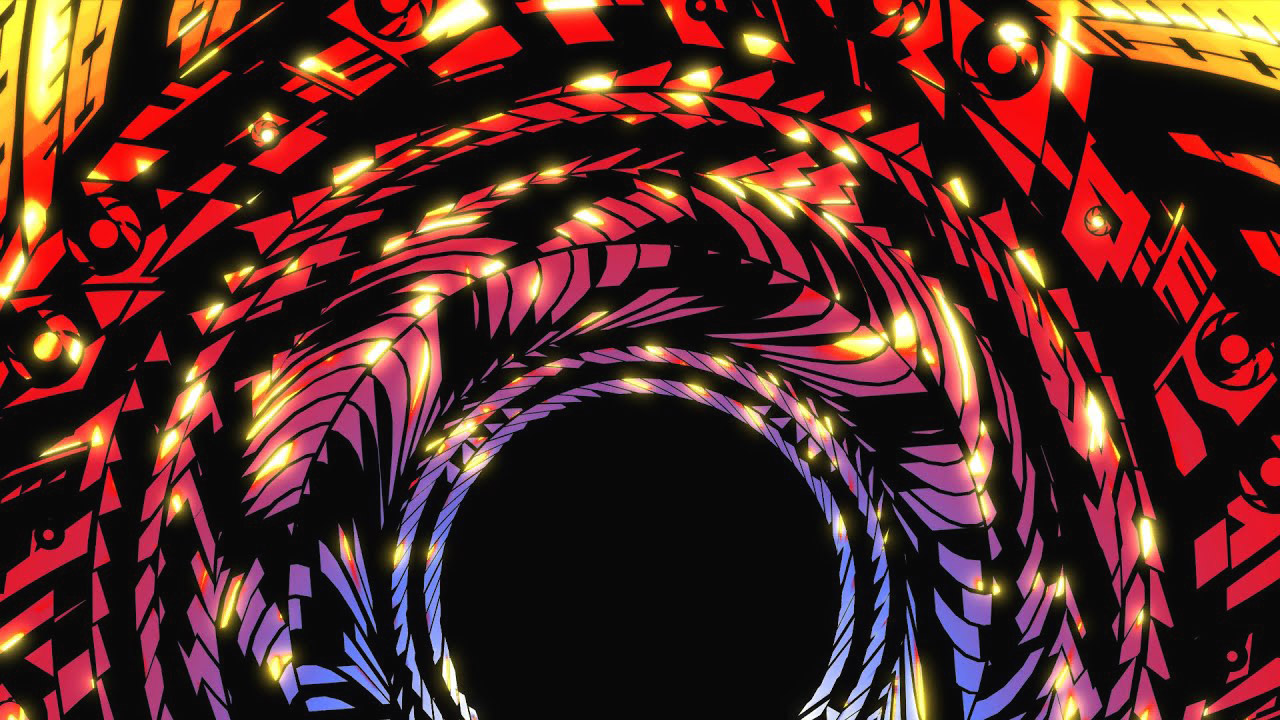
PACK ⬕ Fractal Persp
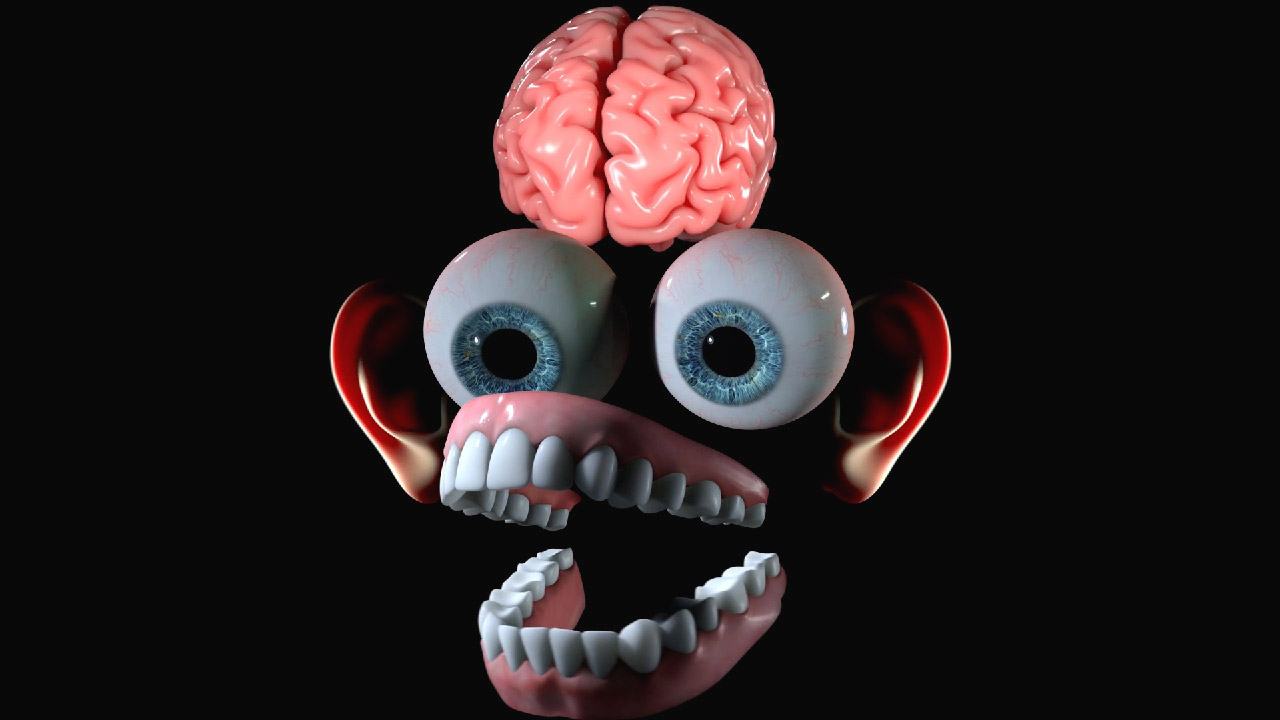
PACK ⬕ Potato Face
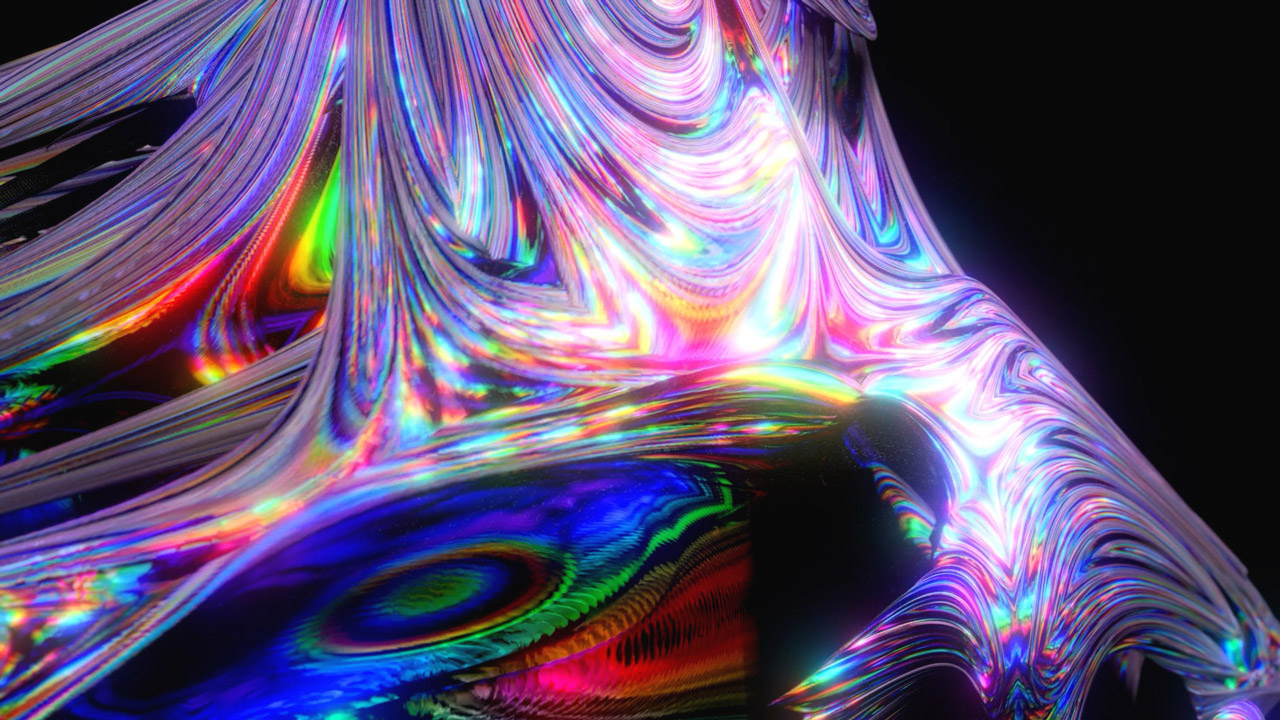
PACK ⬕ Chrome Contort
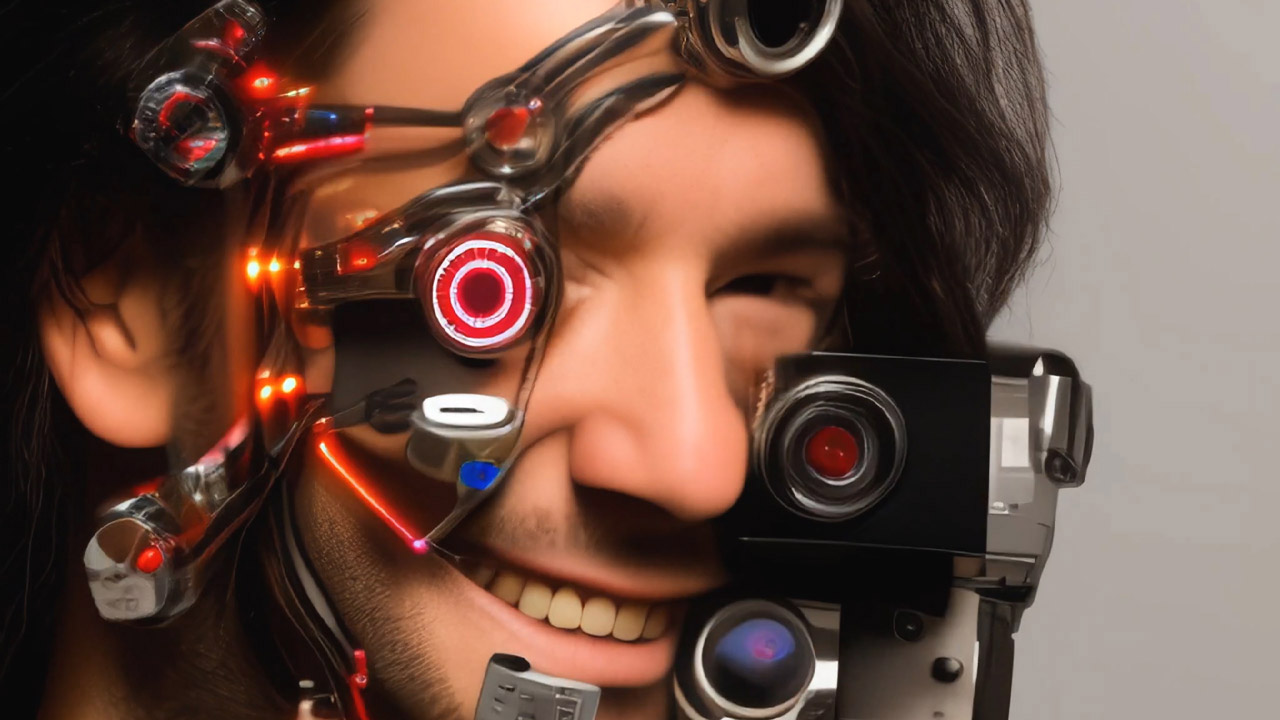
PACK ⬕ Cyborg Fomo
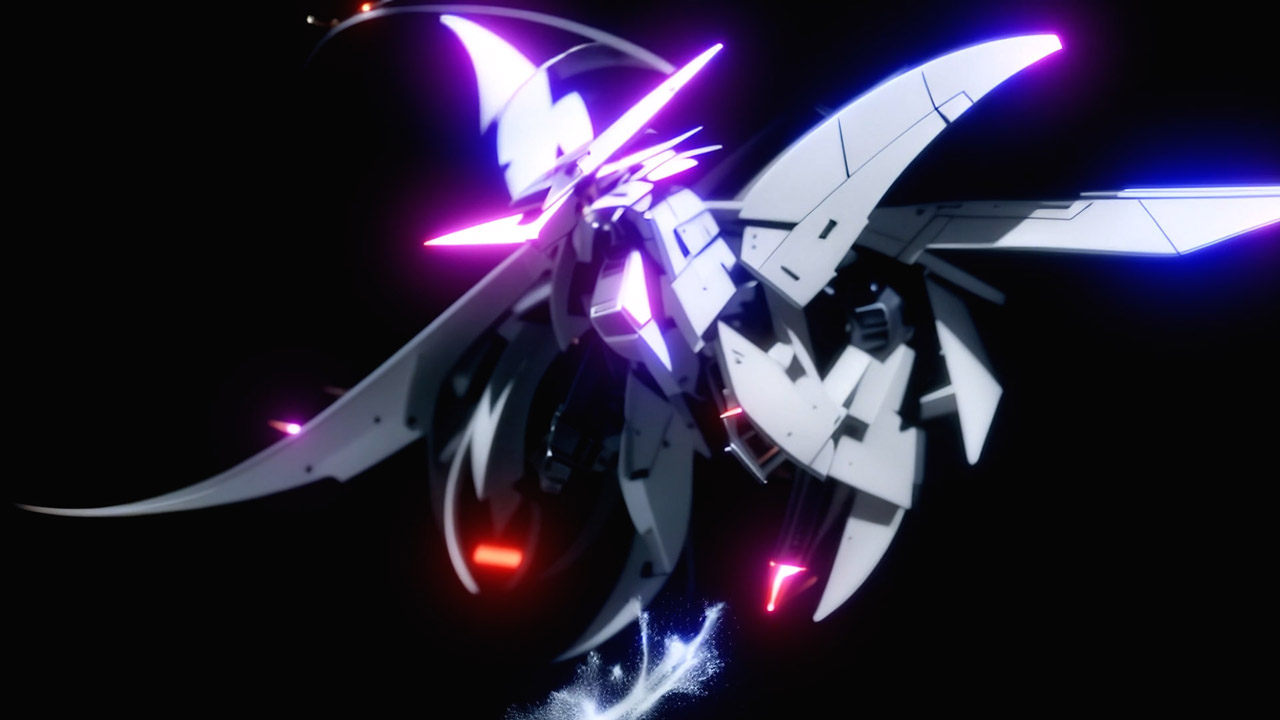
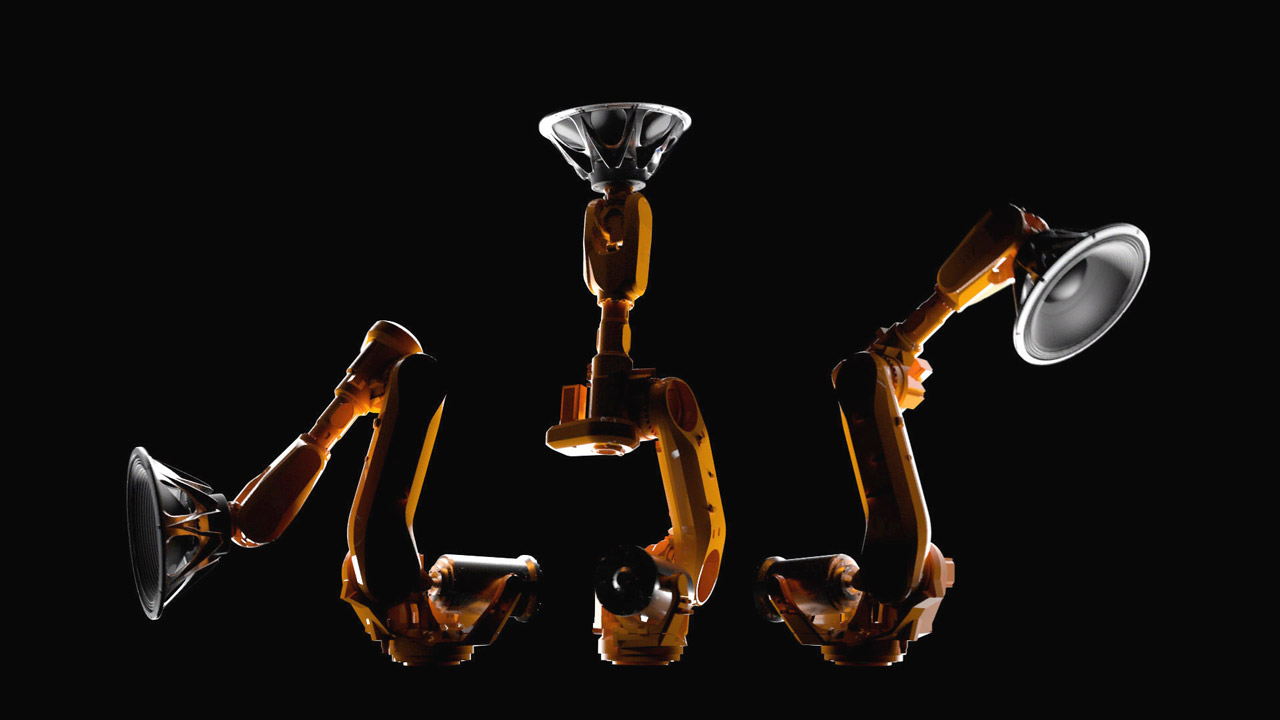
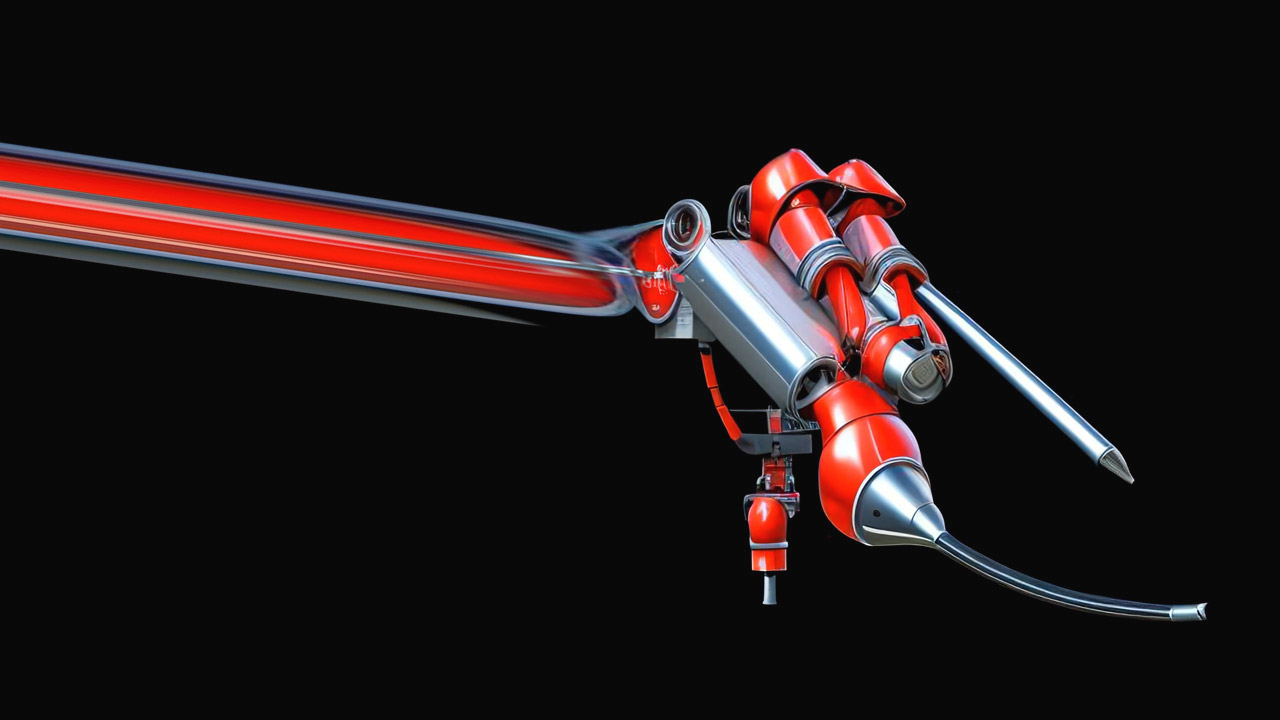
PACK ⬕ Robotics Foundry
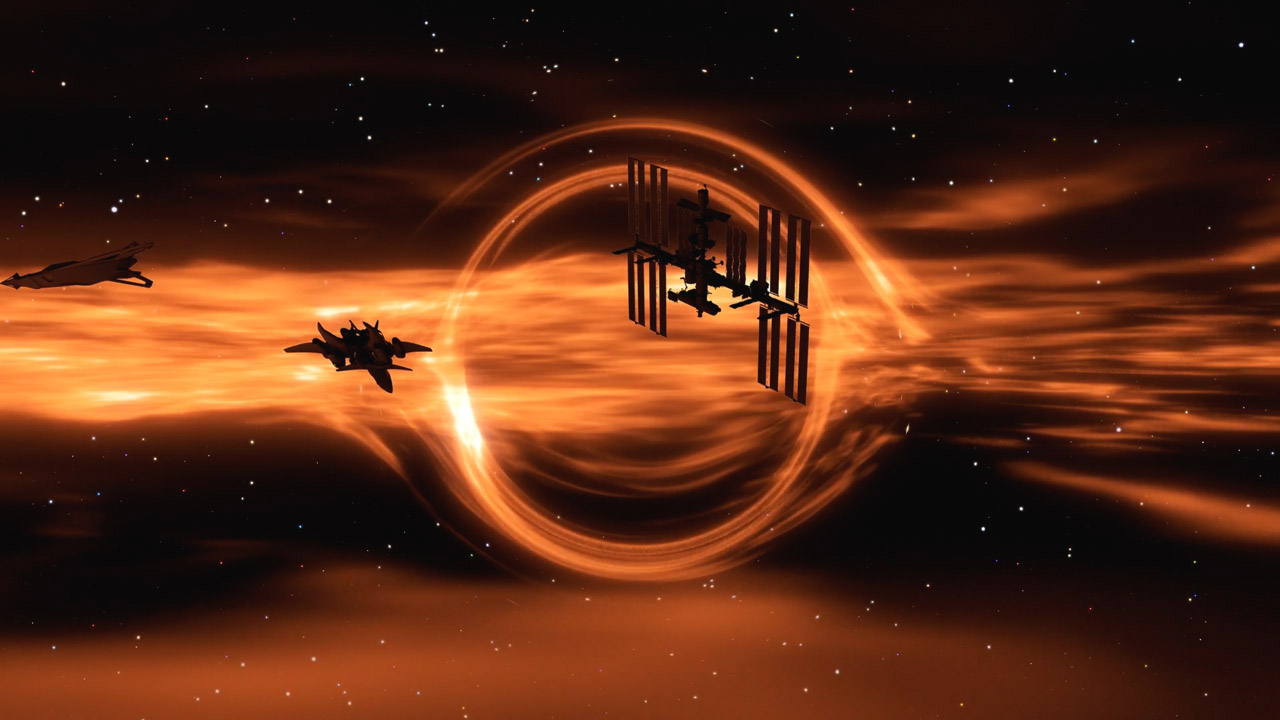
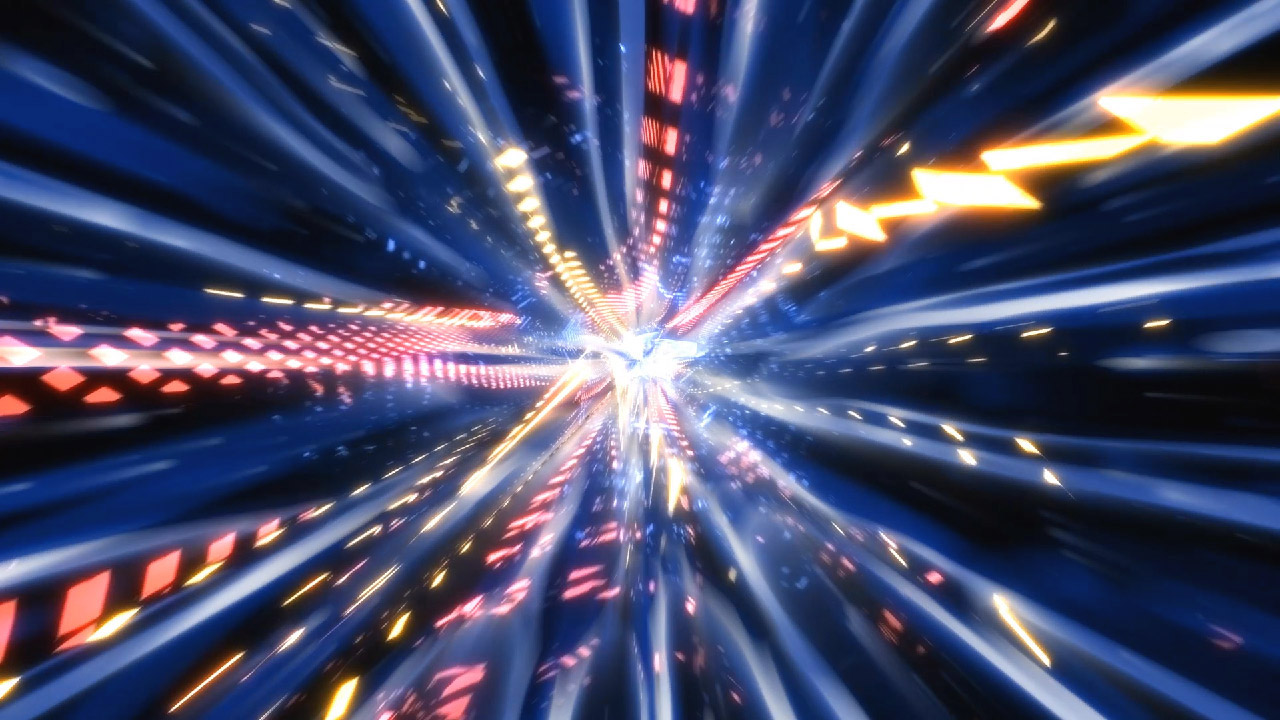
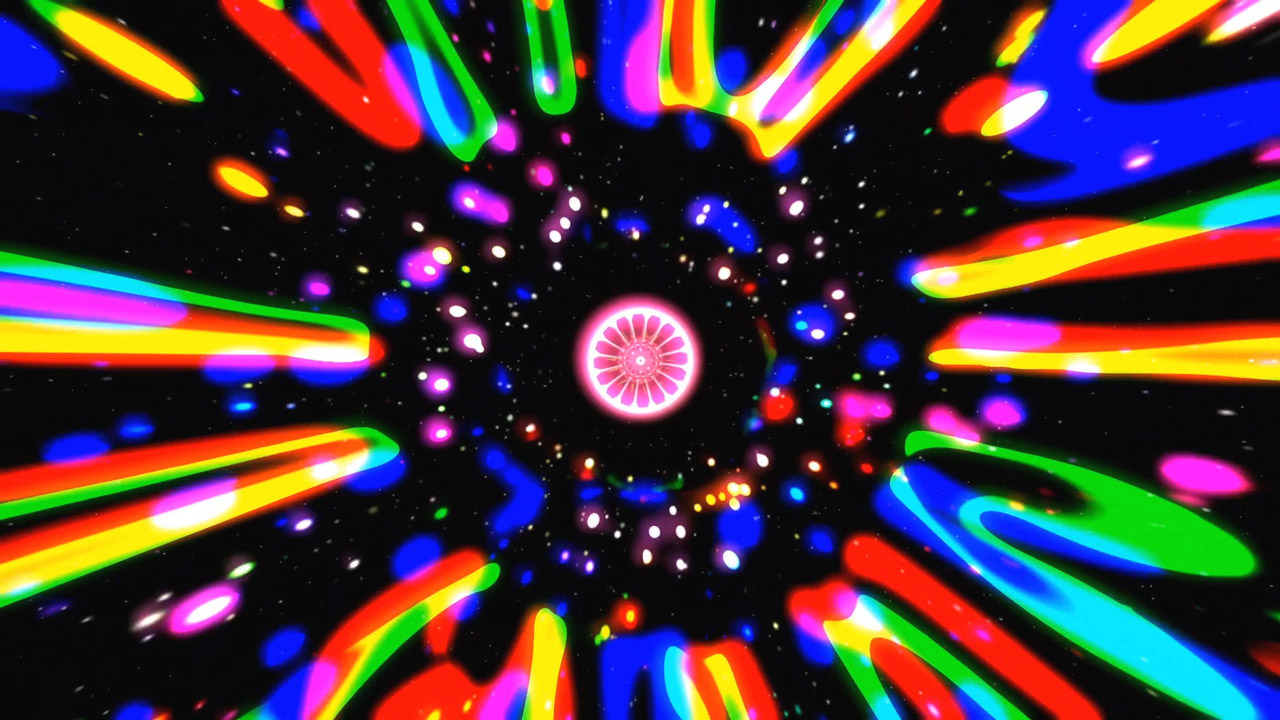
PACK ⬕ Intergalactic Haste
PACK ⬕ Graffiti Reset
PACK ⬕ Body Body Body
PACK ⬕ Alien Guest
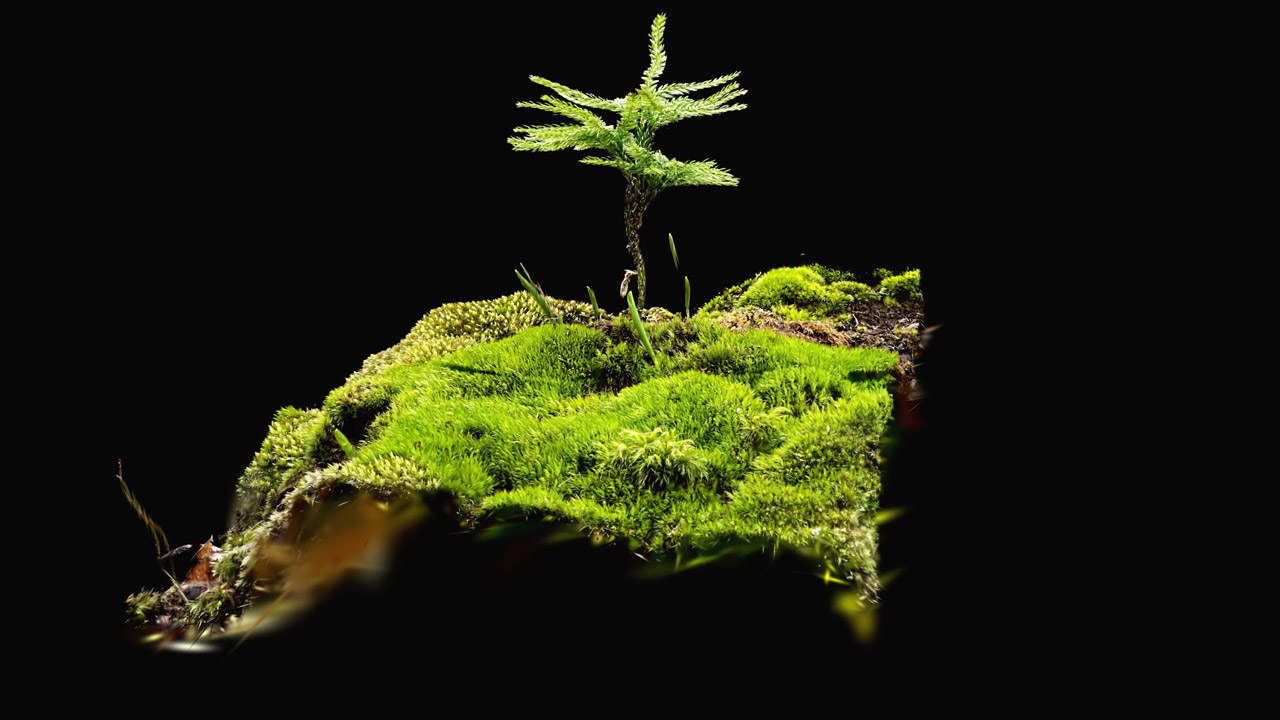
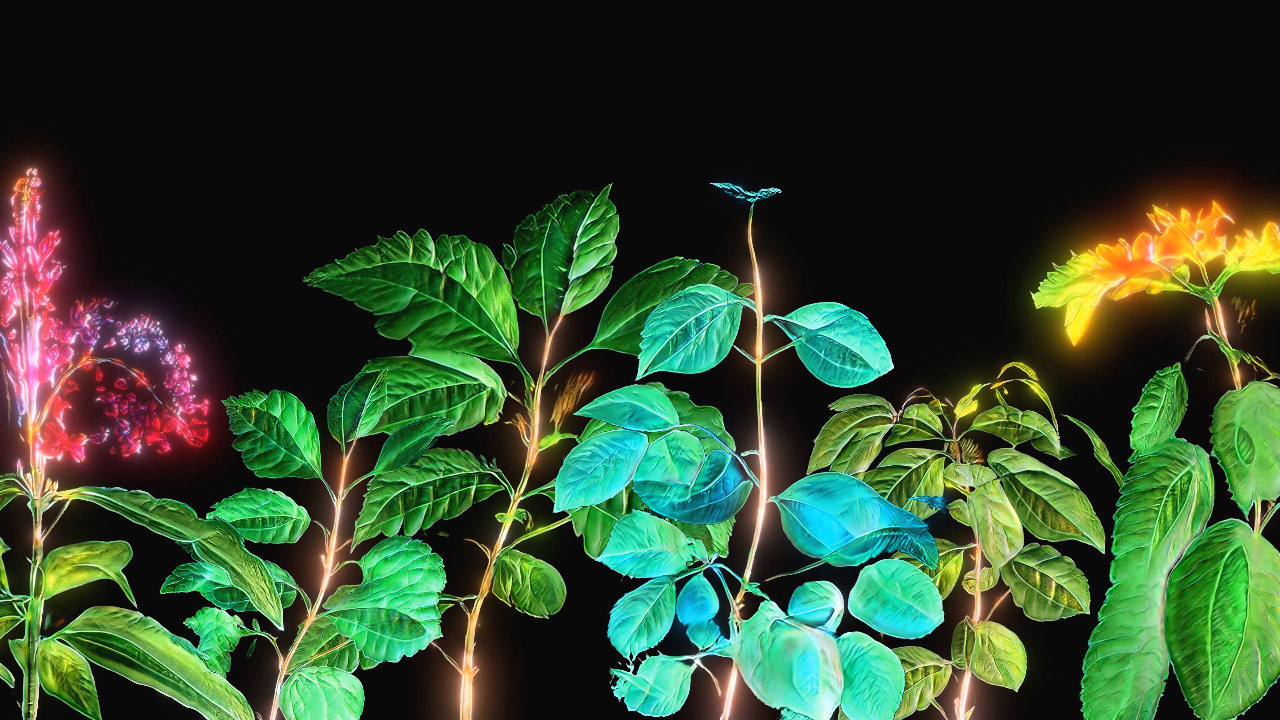
PACK ⬕ Nature Artificial
PACK ⬕ Internal Rep
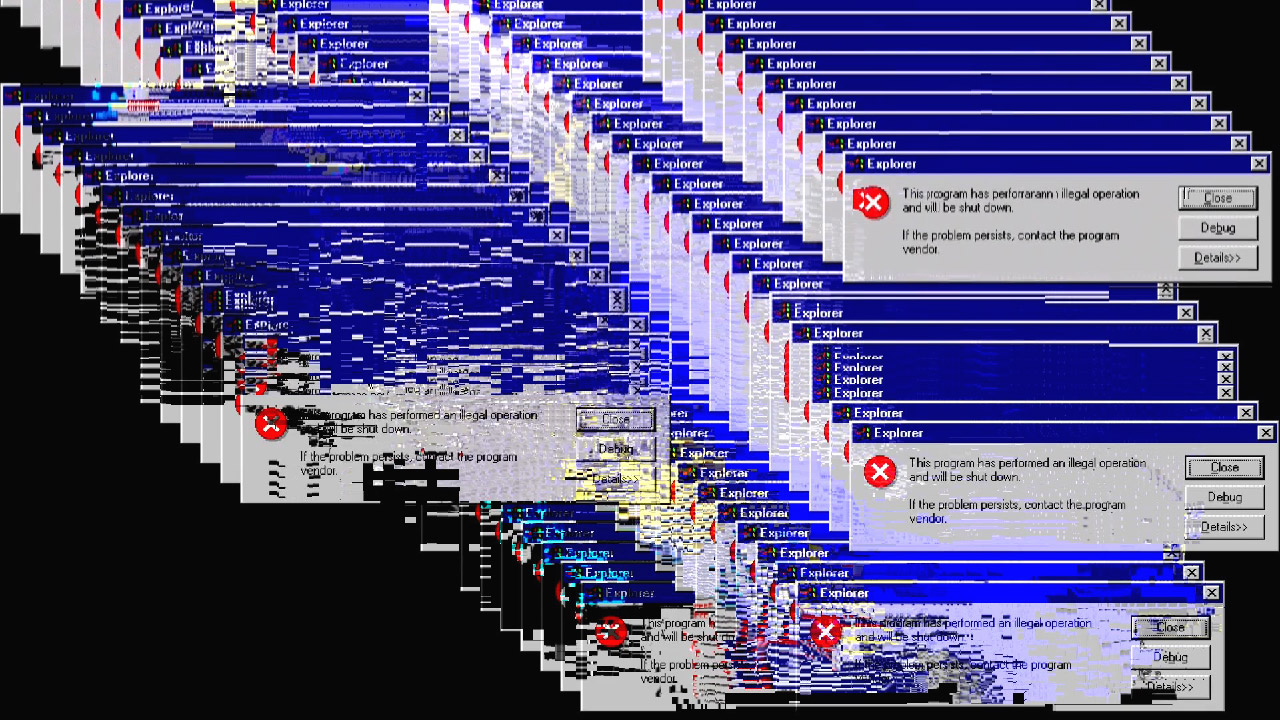
PACK ⬕ Error Overflow
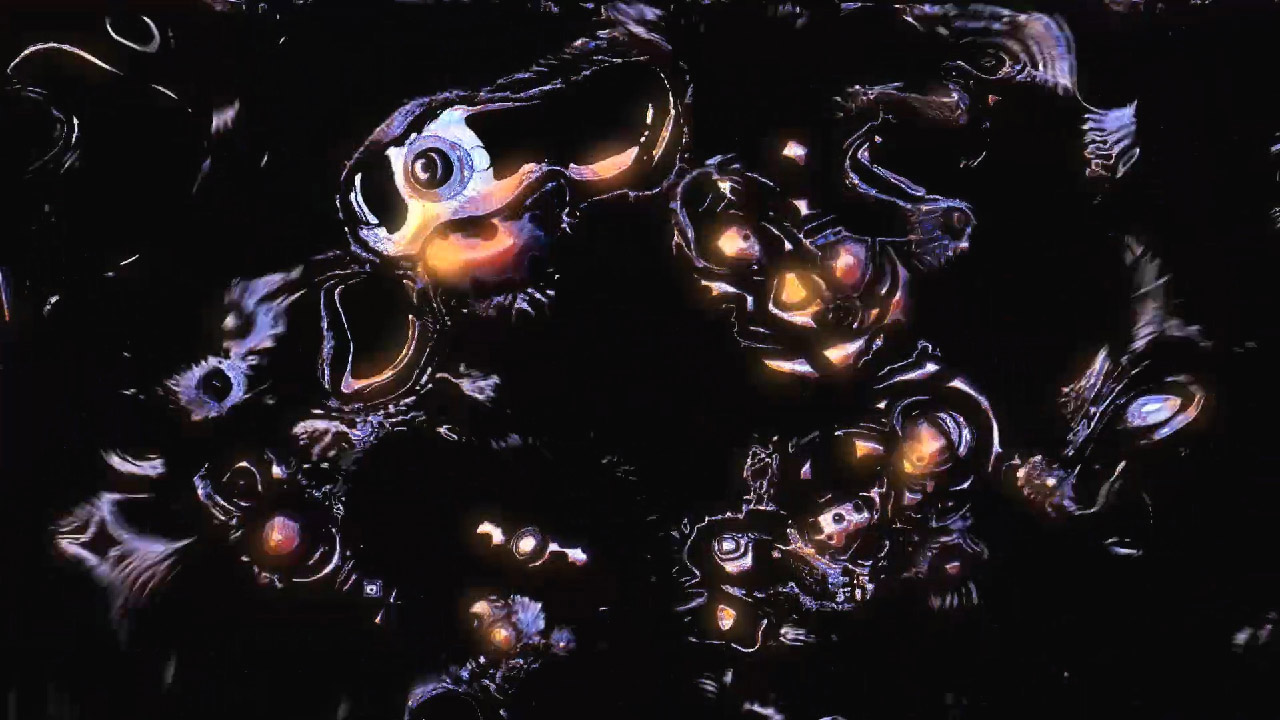
PACK ⬕ Nanotech Mutations
PACK ⬕ Cloud Computing
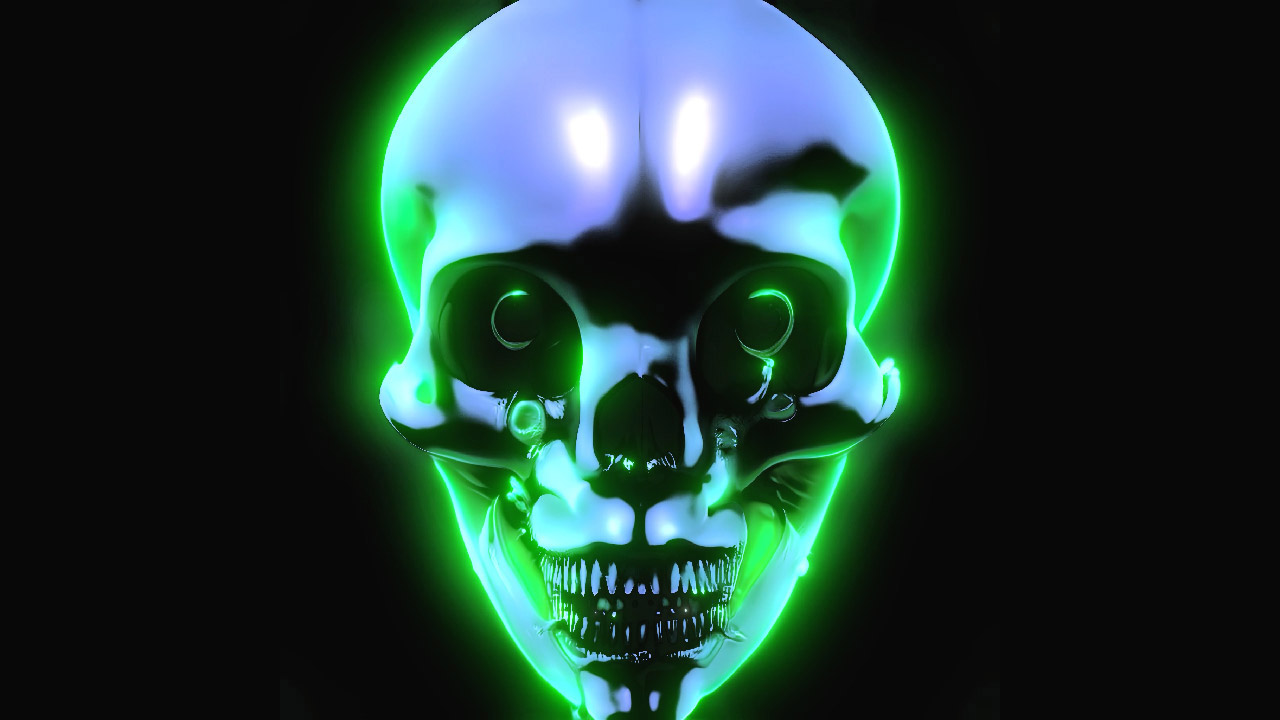
PACK ⬕ Mask Oblivion
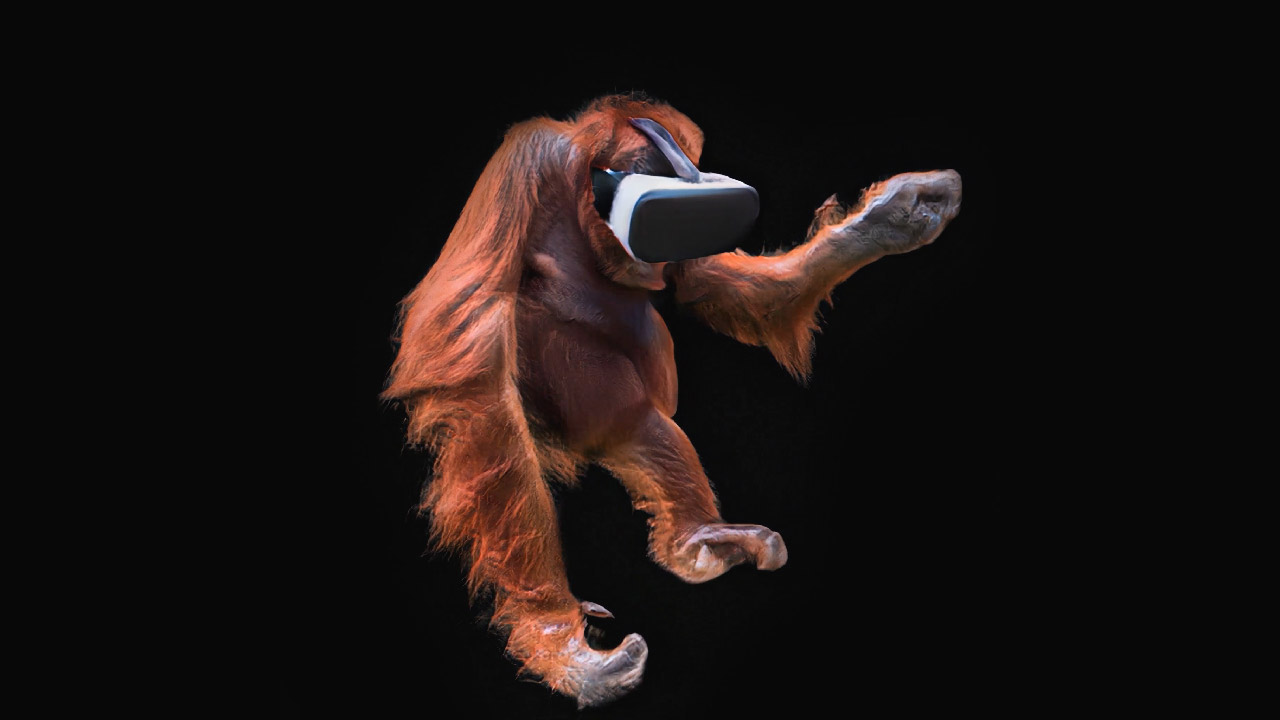
PACK ⬕ Orangutan VR
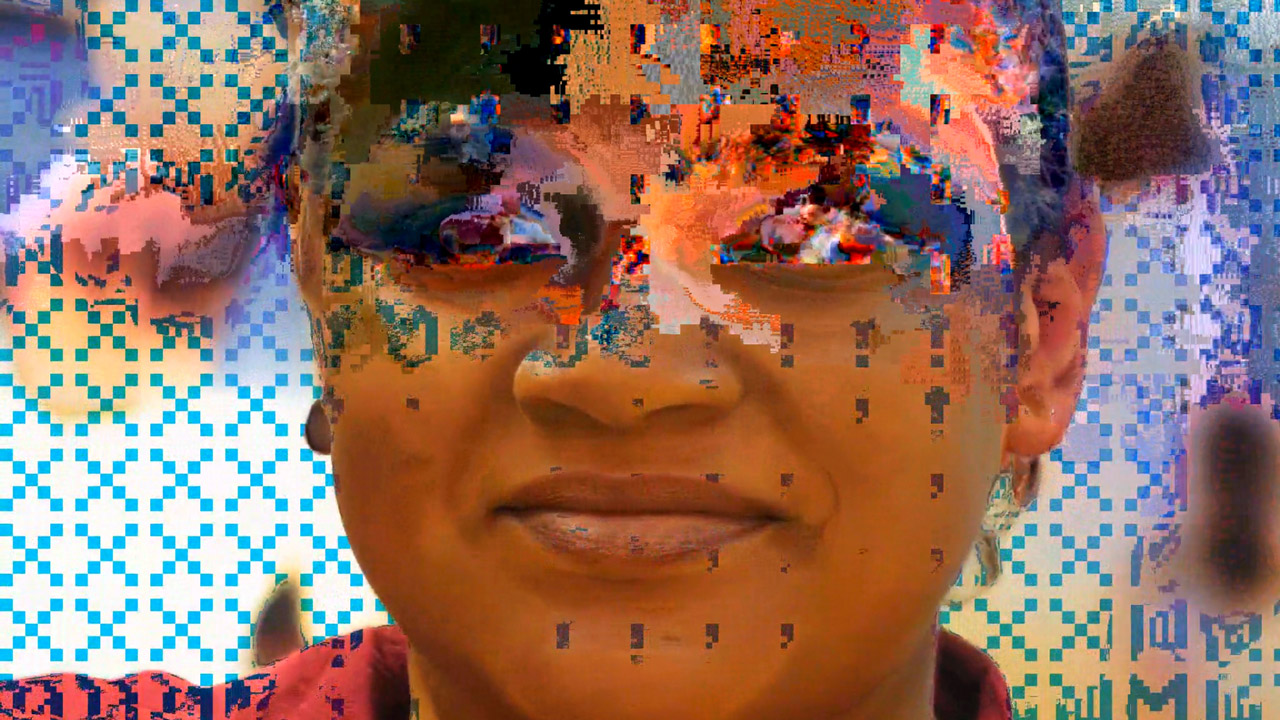
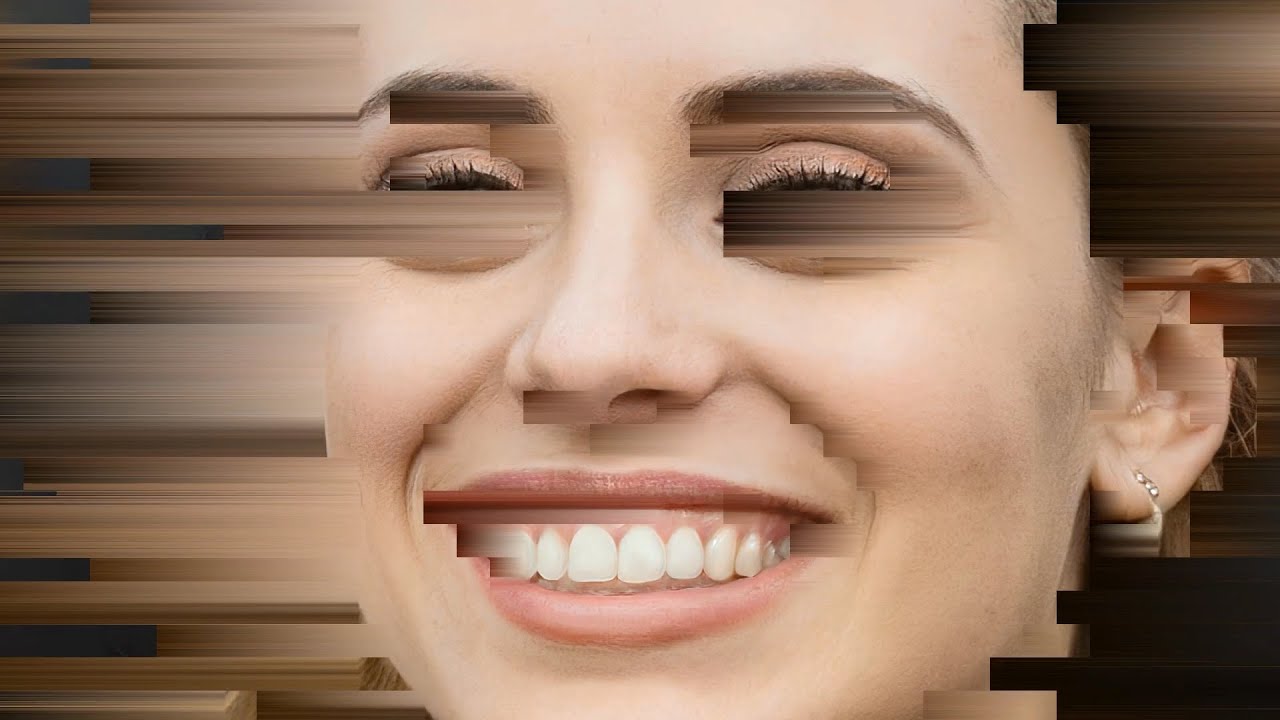
PACK ⬕ Datamosh Madness
PACK ⬕ Machine Stakeout
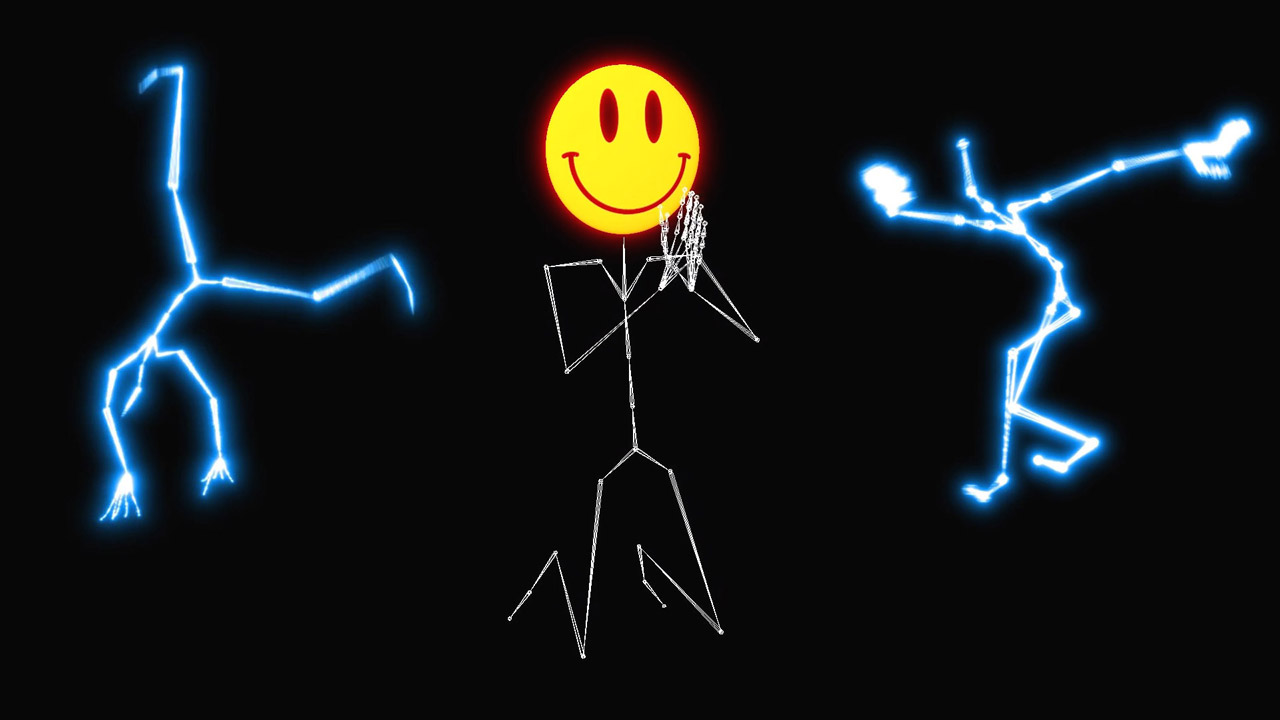
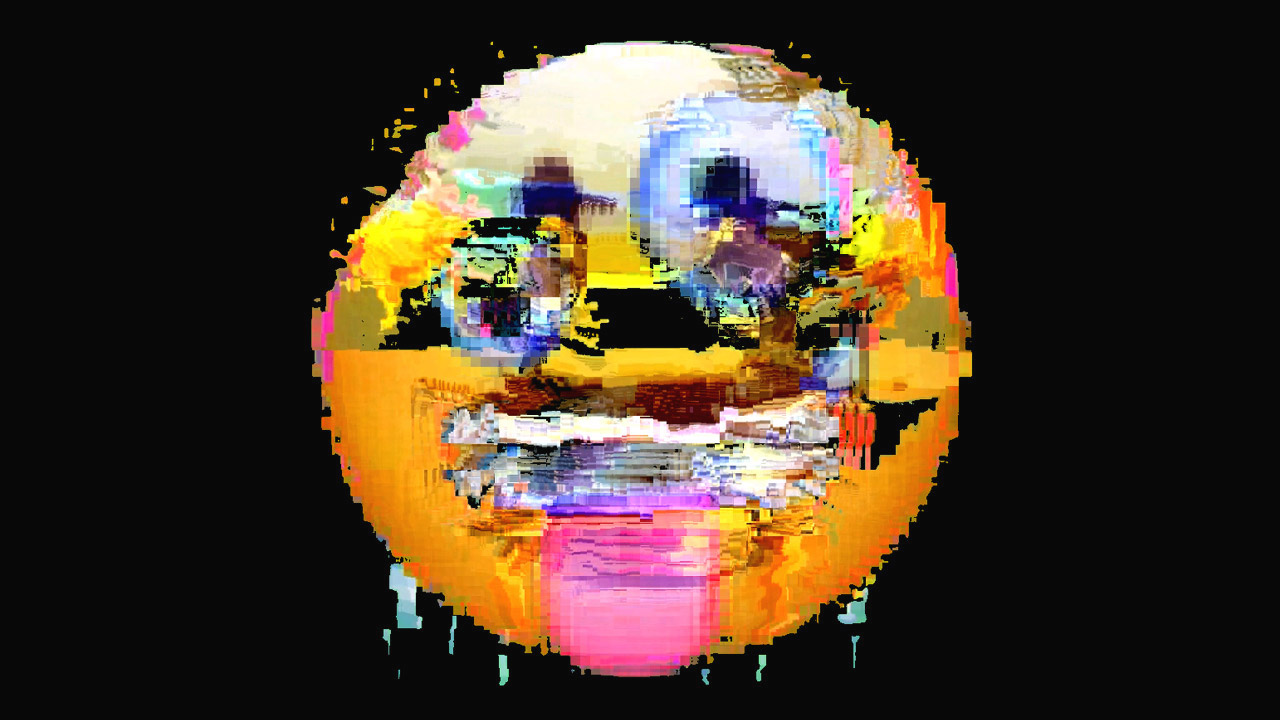
PACK ⬕ Emoji Wreck
PACK ⬕ Machine Landscapes
PACK ⬕ Machine Graffiti
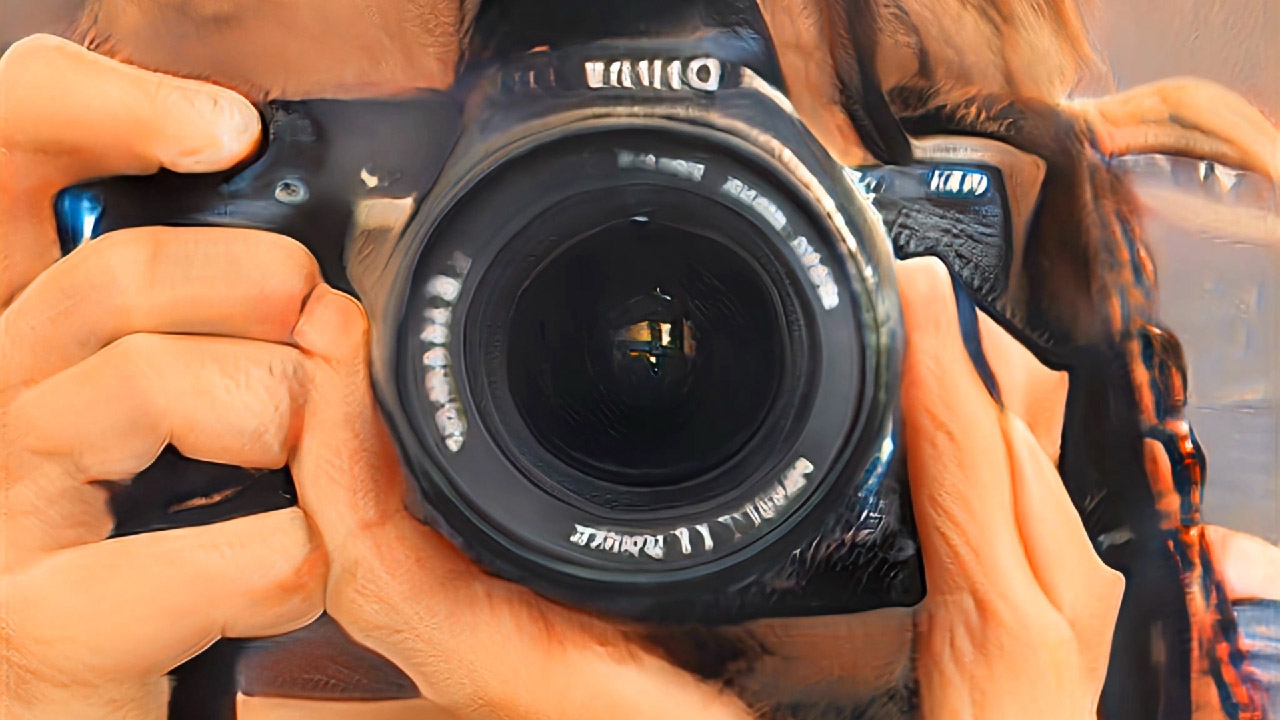
PACK ⬕ Surveillance Biz Glitch
PACK ⬕ Machine Hallucinations
PACK ⬕ Machine Faces
PACK ⬕ Machine Eyes
PACK ⬕ Warp Factor
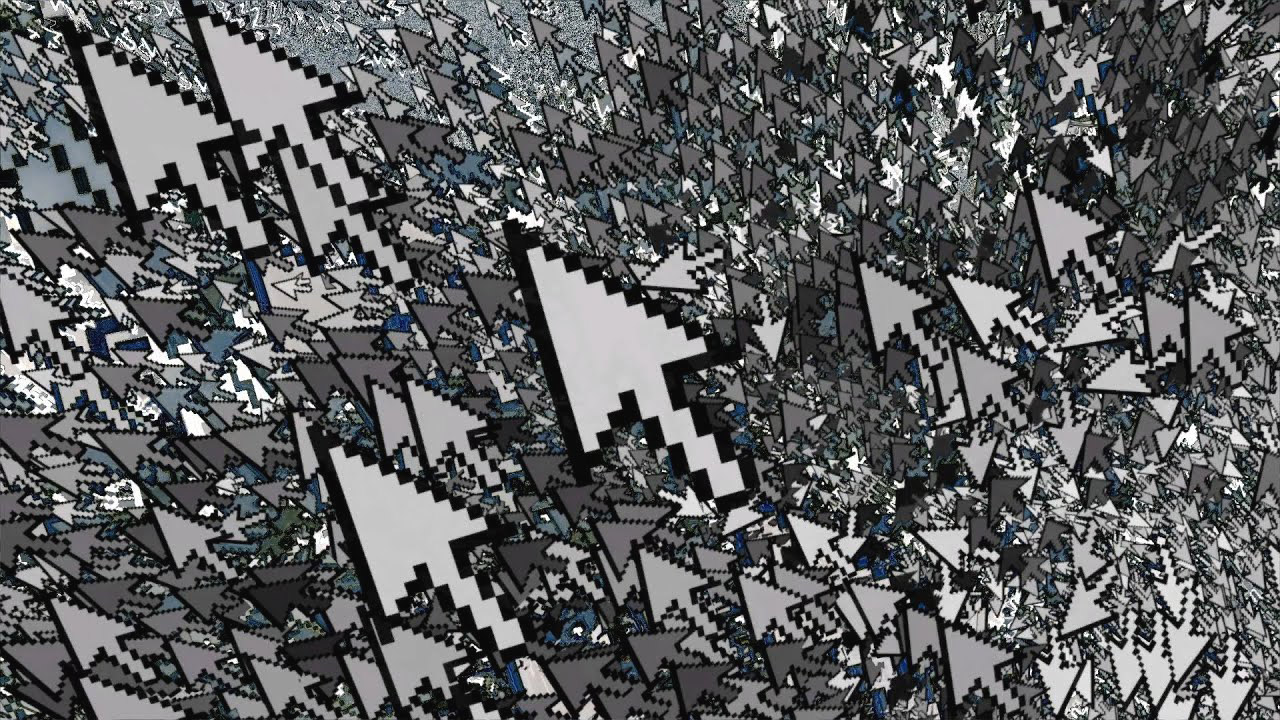
PACK ⬕ Cursor Swarm
PACK ⬕ Cellular Auto
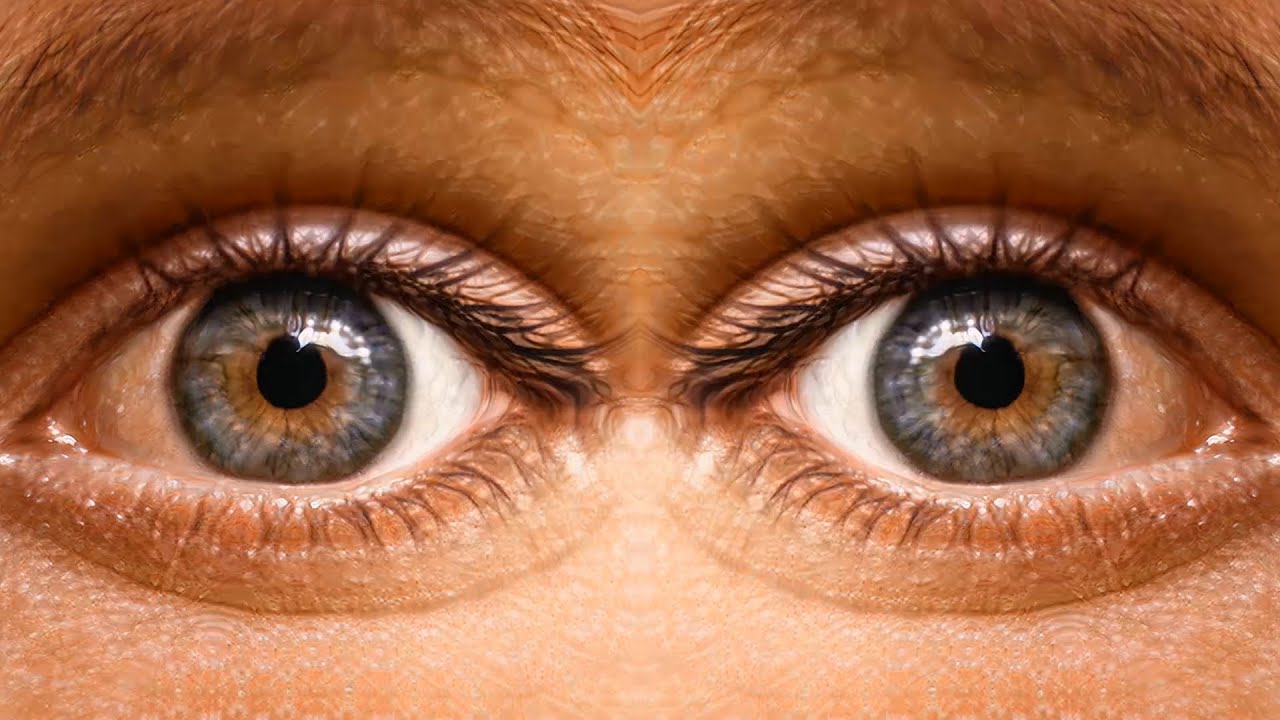
PACK ⬕ Iris Anomaly
PACK ⬕ Explosive Surprise
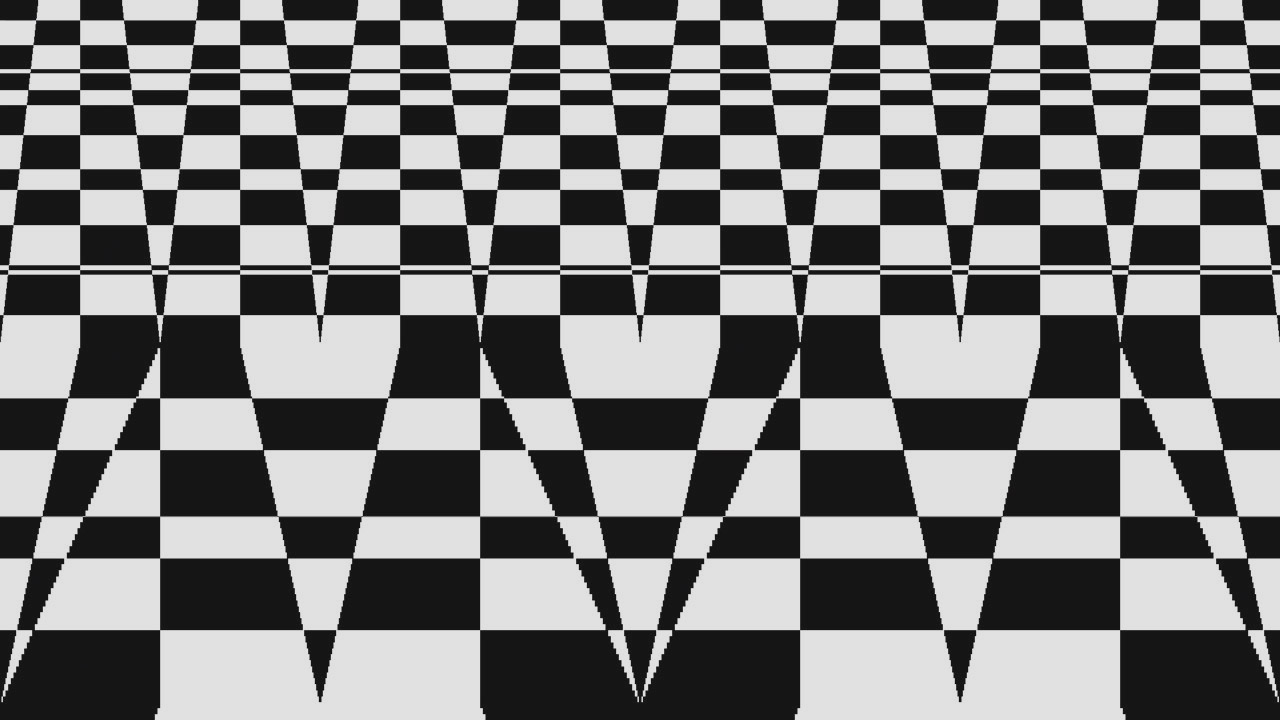
PACK ⬕ Chess Sim
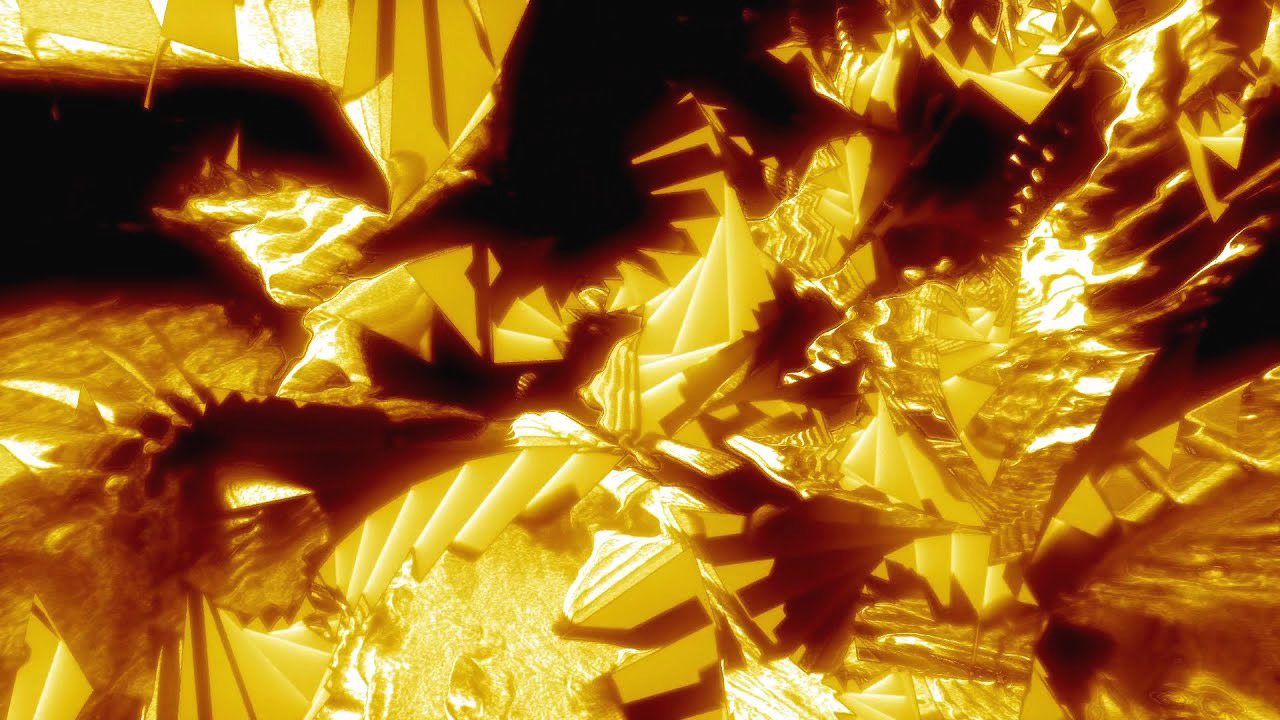
PACK ⬕ Metal Vista
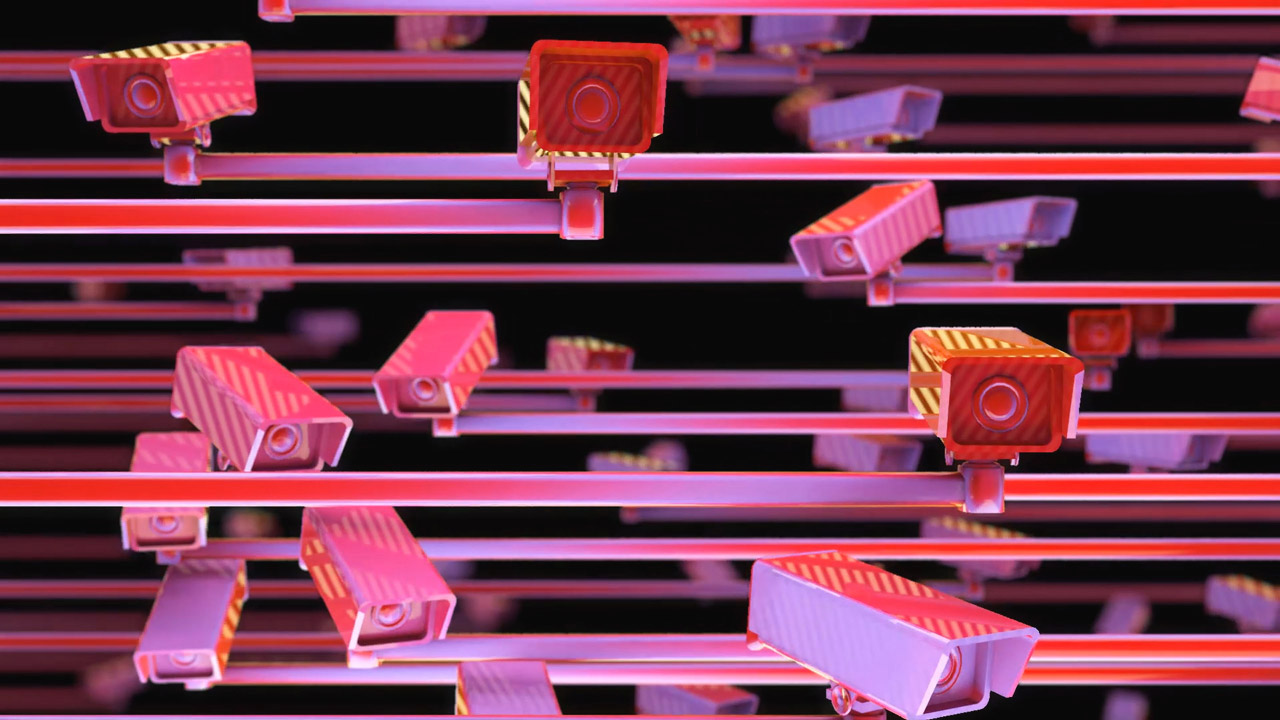
PACK ⬕ Surveillance Biz
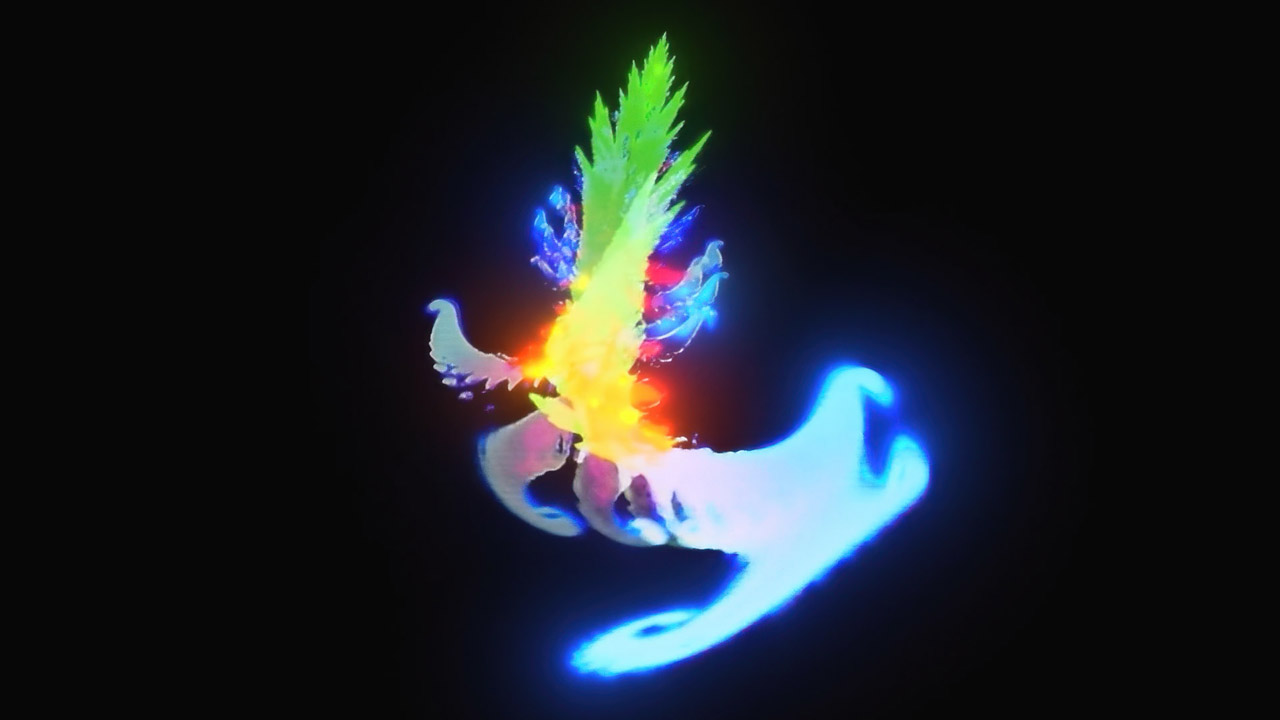
PACK ⬕ Soaring Eagle
PACK ⬕ Series of Tubes
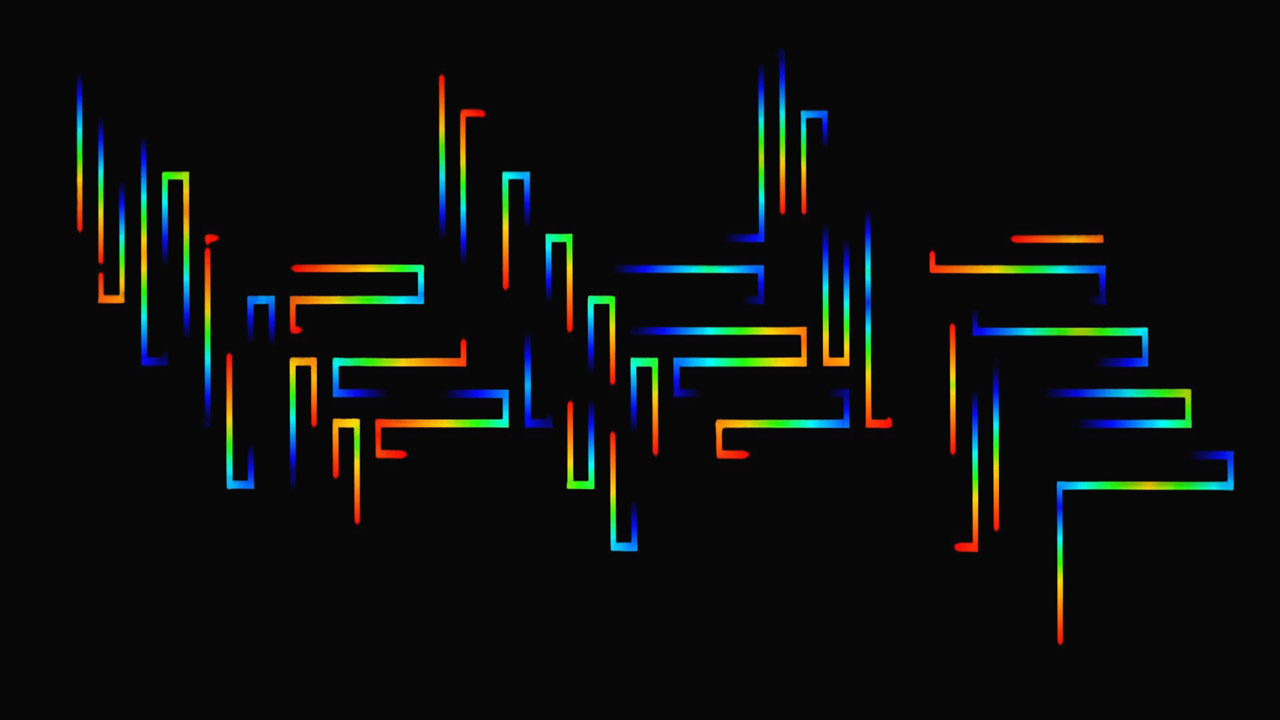
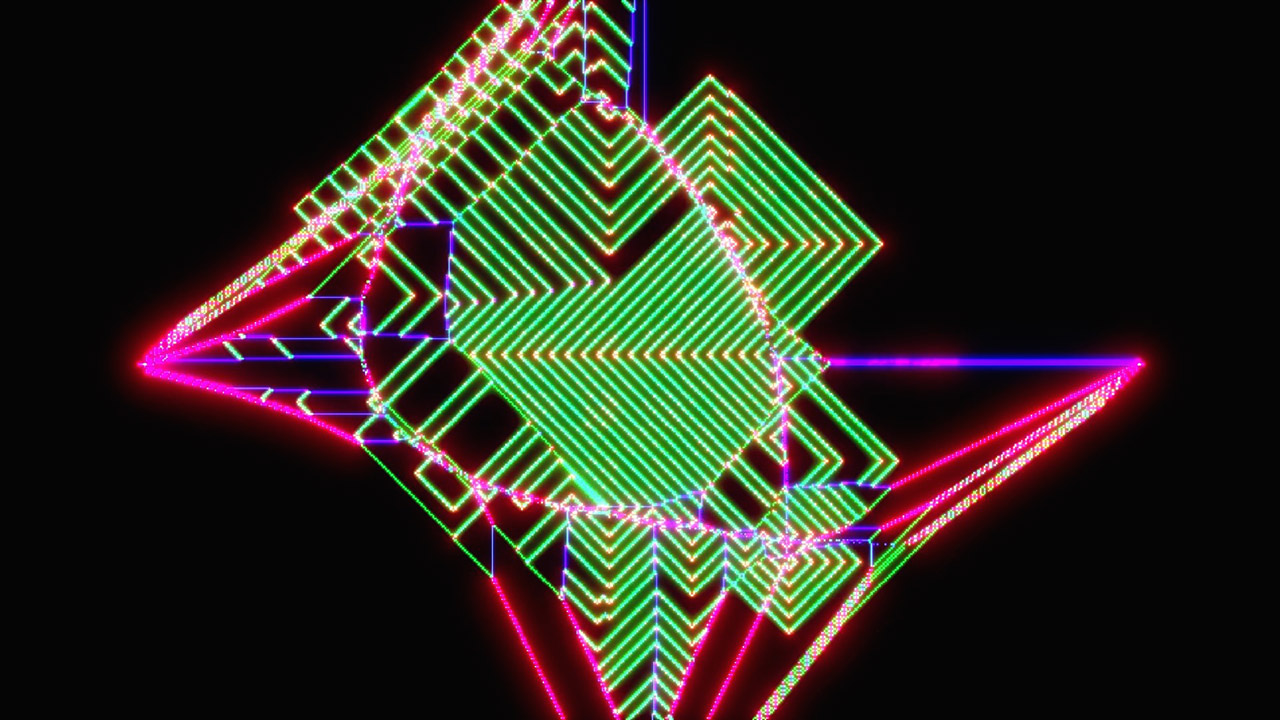
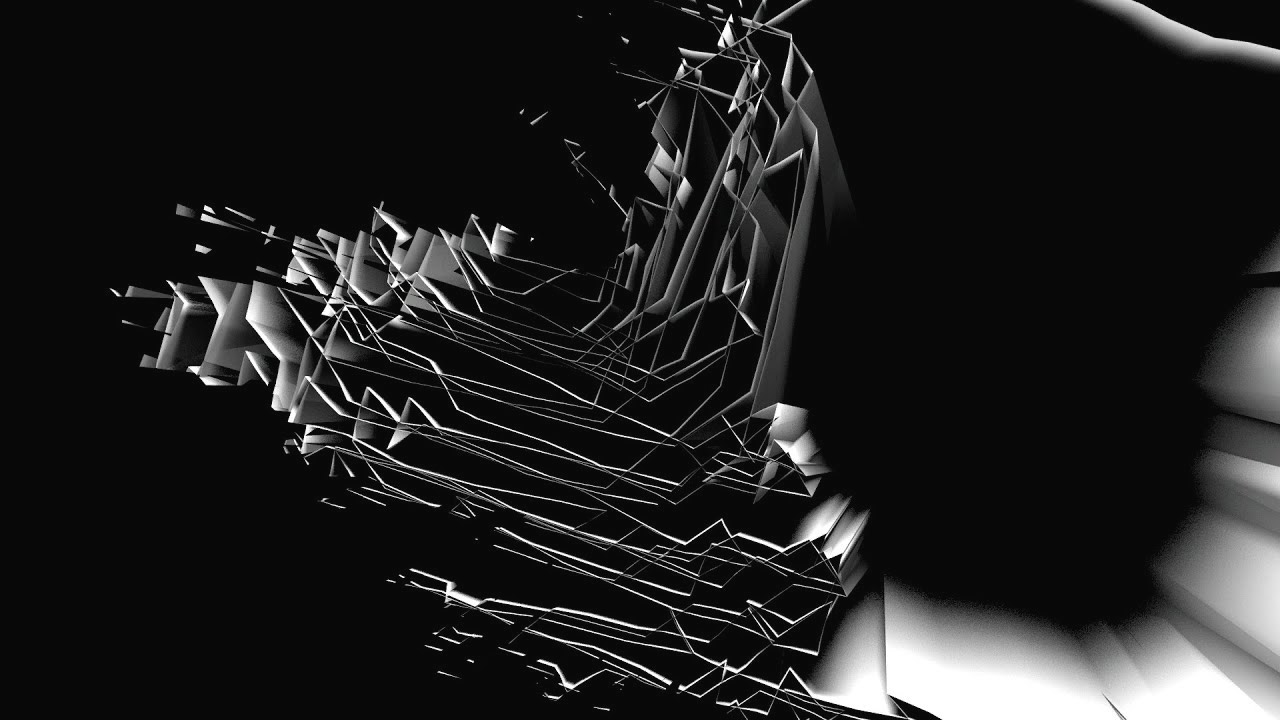
PACK ⬕ Recursion Stack
PACK ⬕ Outbreak Nodes
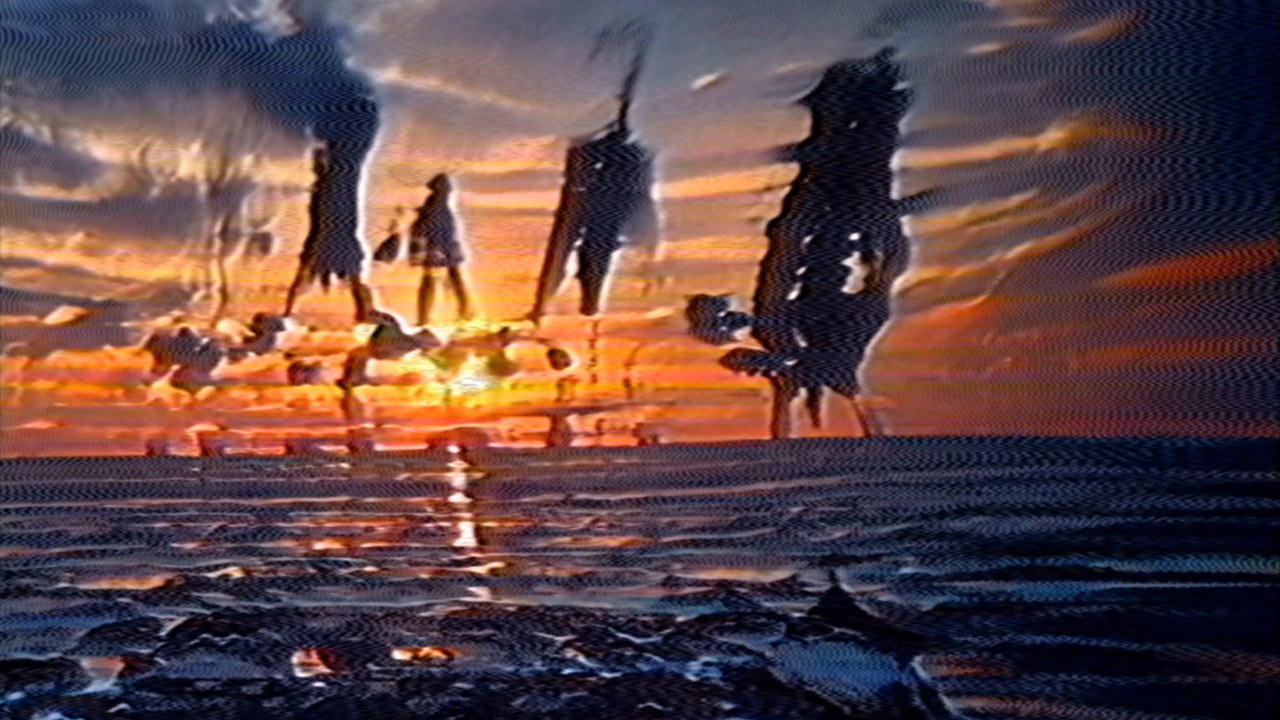
PACK ⬕ Mountains Flow
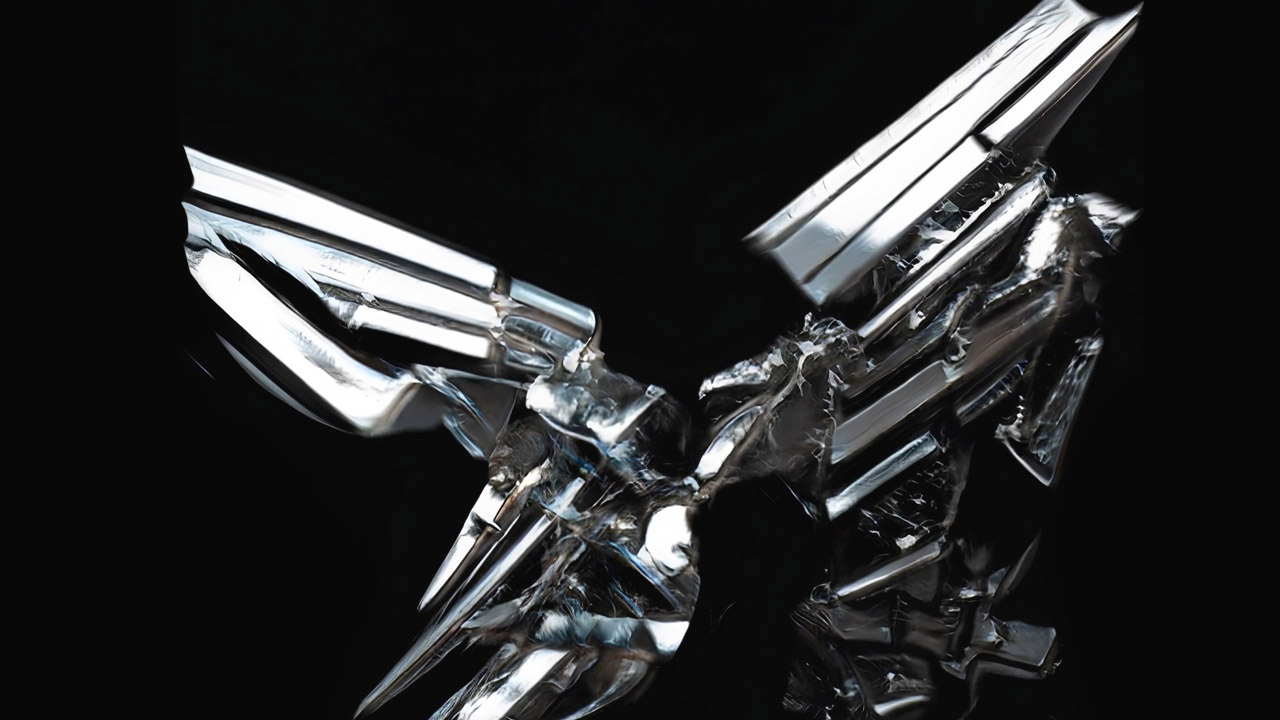
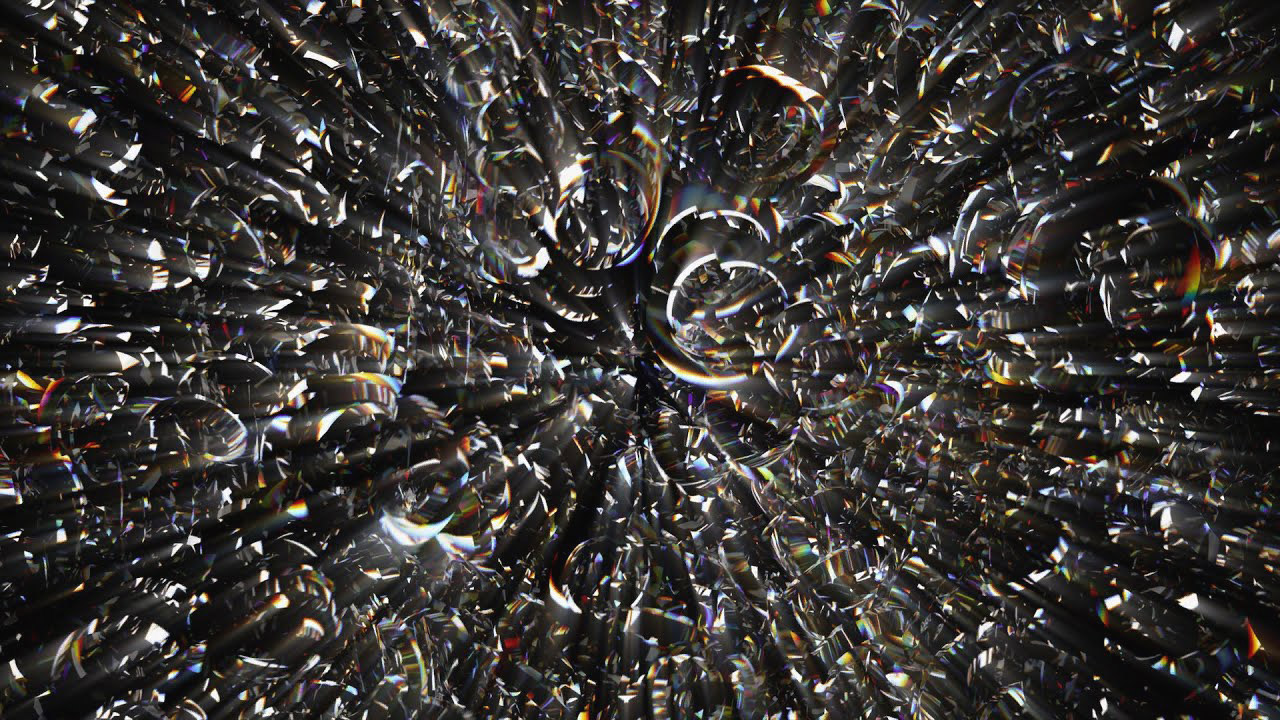
PACK ⬕ Crystal Bounty
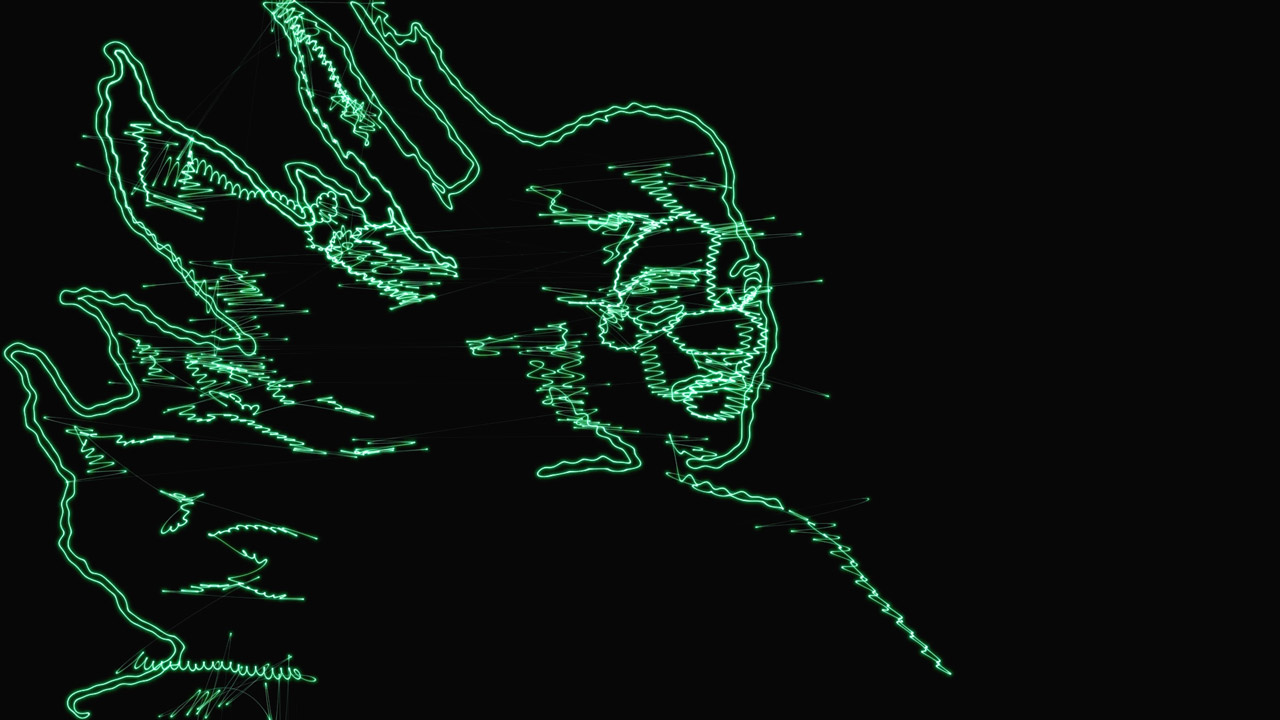
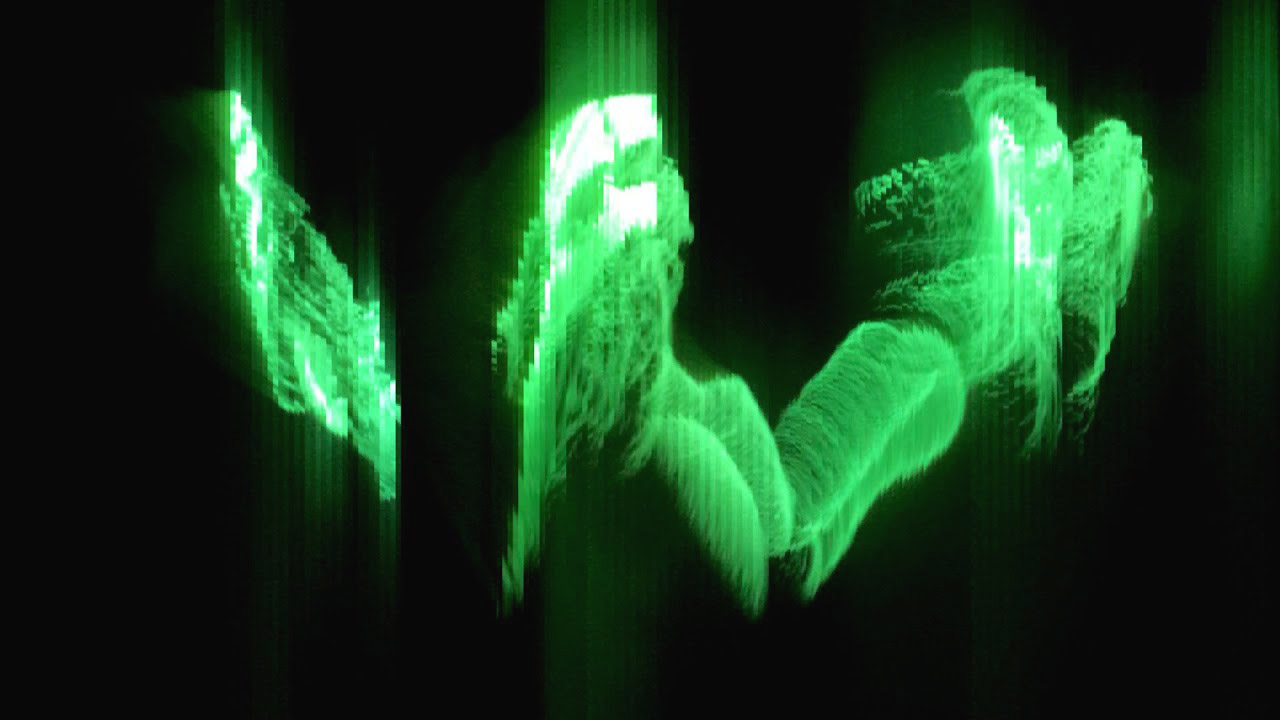
PACK ⬕ Hands Cascade